
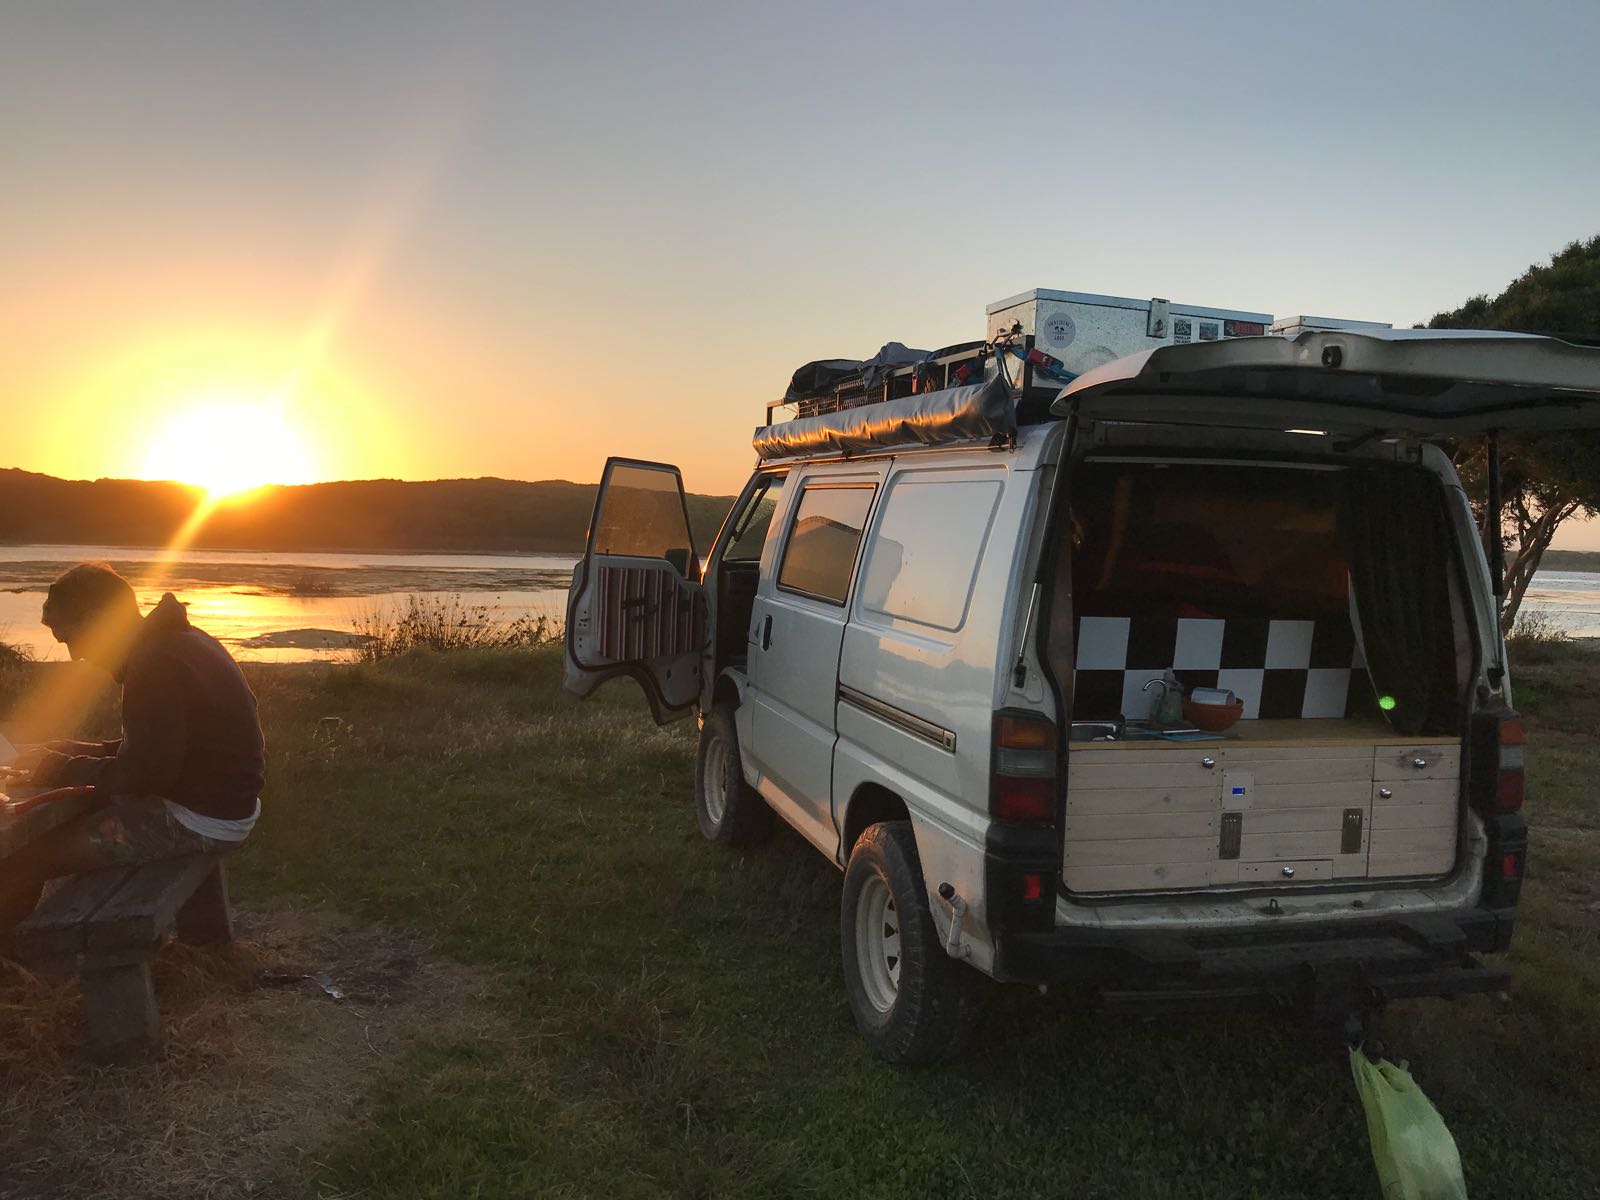
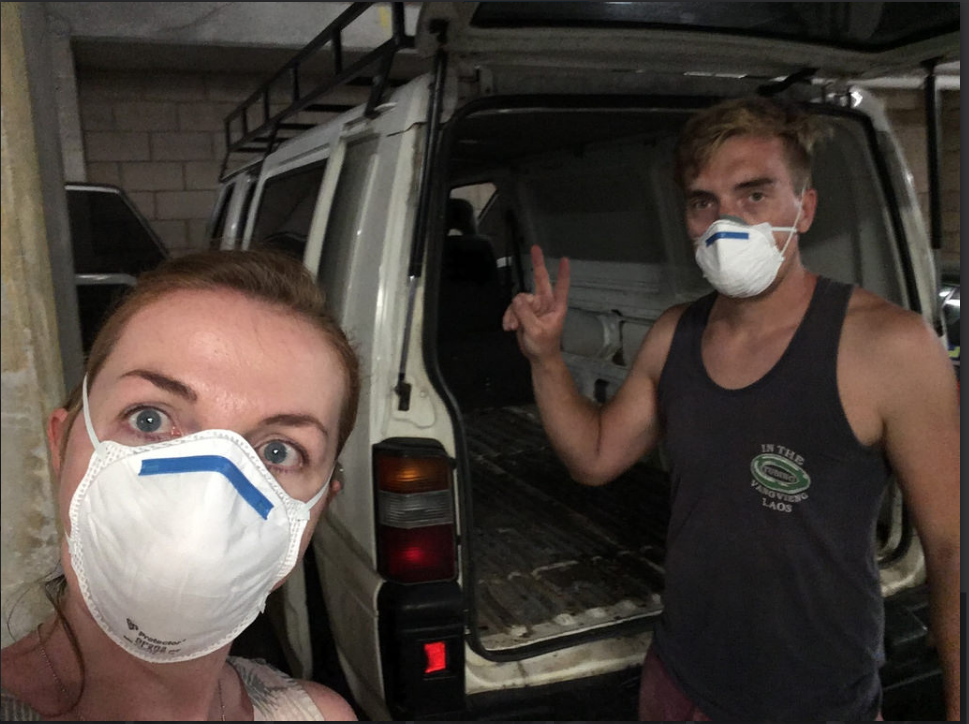
Bridget the Van
In January 2017 Orla and I were living in Sydney. We needed a car. We were torn between a “sensible” car we could sleep in, like a Forester, or a van project.
We chose bridget and the rest is history. Her name comes from the NSW rego - BR27JG.
Why an L300?
We had the following requirements for a camper:
- Not have terrible fuel consumption (no V6 / V8)
- 4x4
- Short Wheel Base so we could park it in town (and it could get places)
- Big enough for a permanent bed / sofa + kitchen
- Be on NSW plates
Needing a 4x4 with good fuel consumption removes a bunch of contenders:
- Standard vans used in conversions lack 4x4 (Hiace / Econo / straight Mitsi’s / Kias)
- Any 4wd big enough to be seriously useasble (without a roof tent). A troopy would have been ideal but any we could find were V6 or above. Ditto patrol / cruisy. Hilux too small.
- Post-factory 4x4 (sprinter / transit) conversions are usually LWB and always over budget
The only other van we found that satisfied all of the above was a T4 syncro bus.
Reasons we picked bridget:
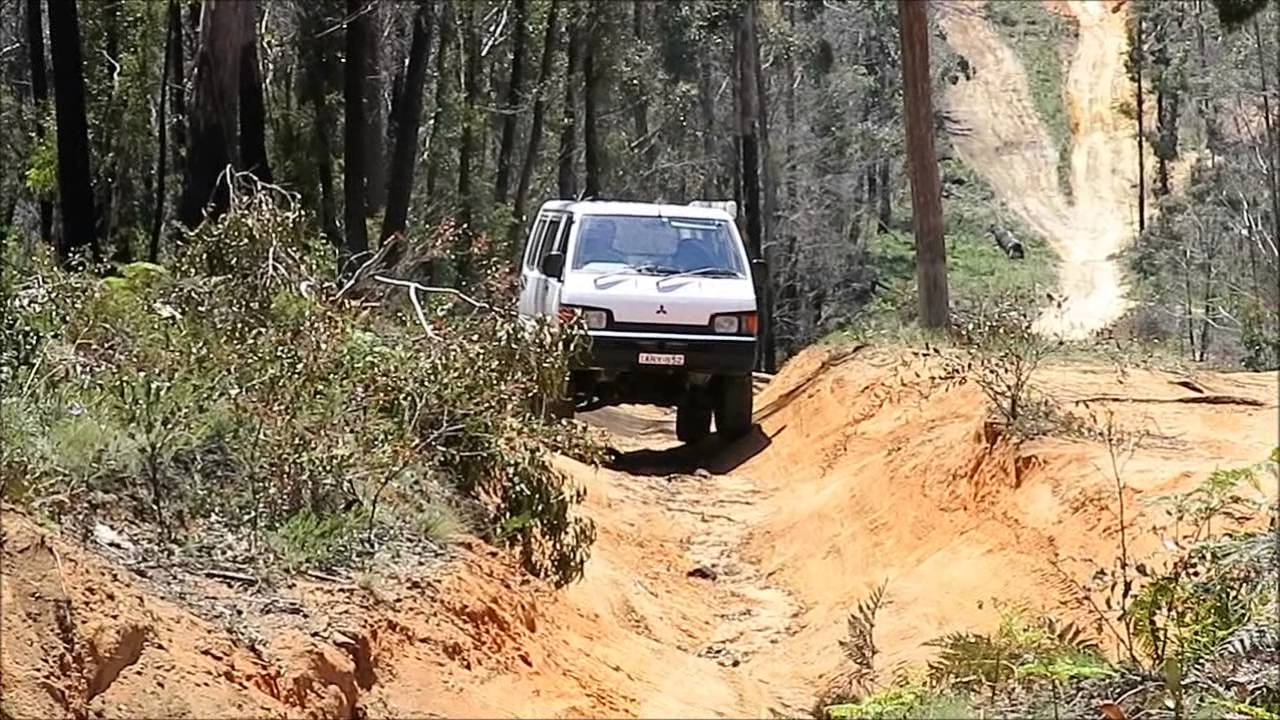
- Proper 4x4 (hi / lo range gearbox + chasis off a Pajero) with 23” Rugged T/As all round. Bridget could go anywhere.
- Only 30k on her since recon’d engine
Retrospectively the conversion would have been easier on a T4 (as it’s a T4 and there are so many examples), but we’re glad we went with Bridget.
Past Life
We bought Bridget off a mechanic in Hornsby. He’d built her out of two 4x4 L300s he salvaged. Originally he wanted to put a turbo diesel in her, but that didn’t fly for some reason, so we were left with the 2.4 petrol EFI.
Aside from the engine recon and sticking 30k on the clock, he did the following:
- Bull bar
- Navara Spot Lights
- Tints
- Roof Bars
- Tough dog shocks
- BF Goodrich Rugged Terrain 29”s
- Rust Proofing
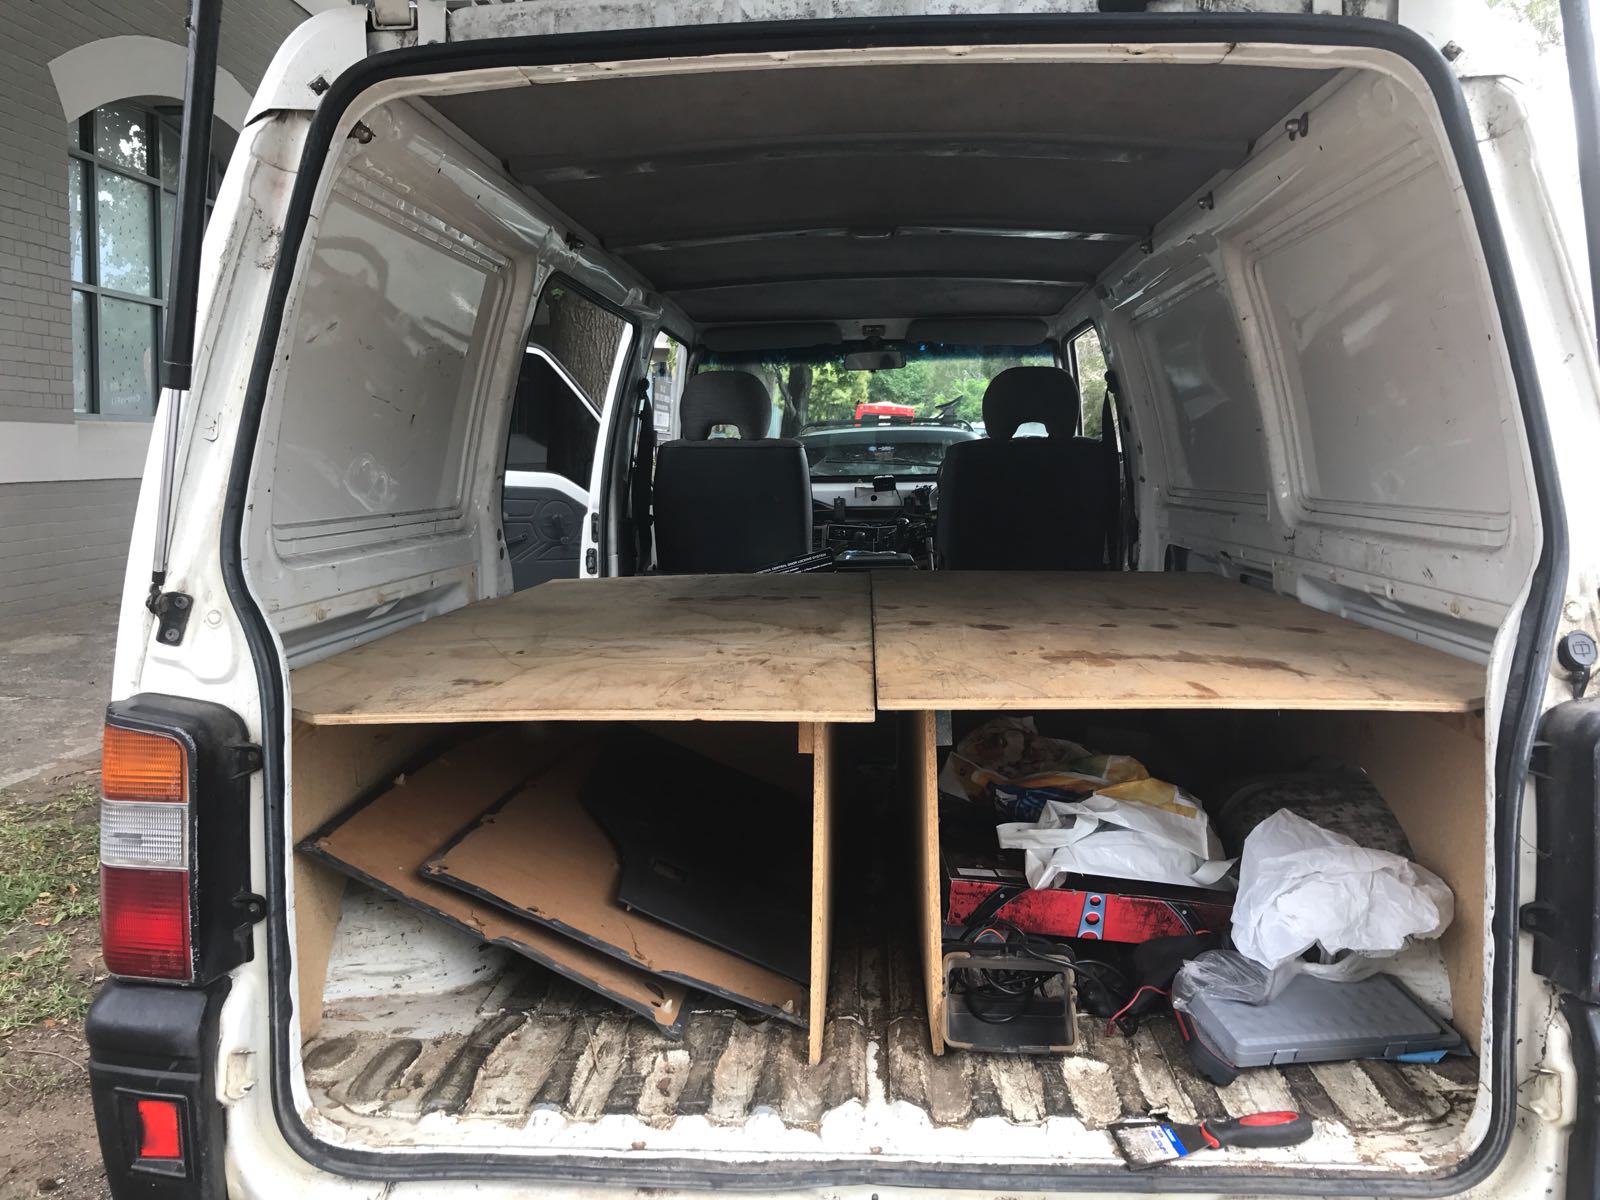
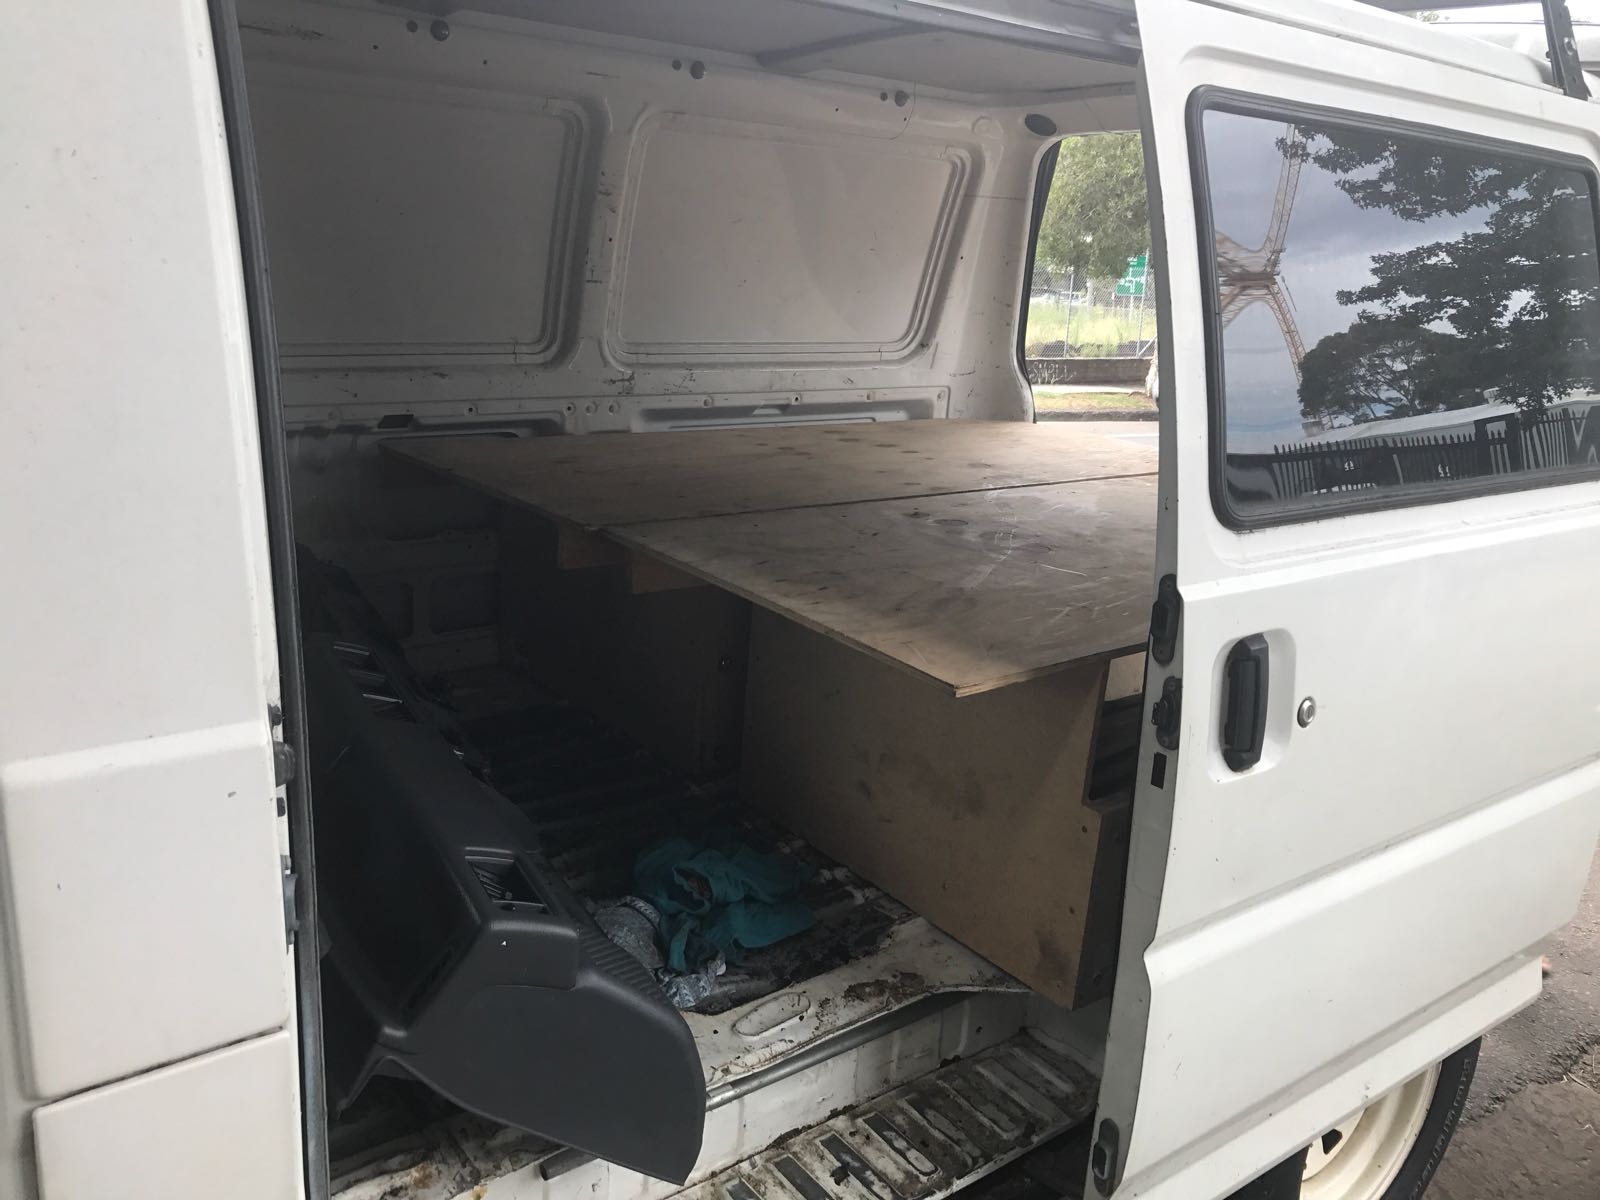
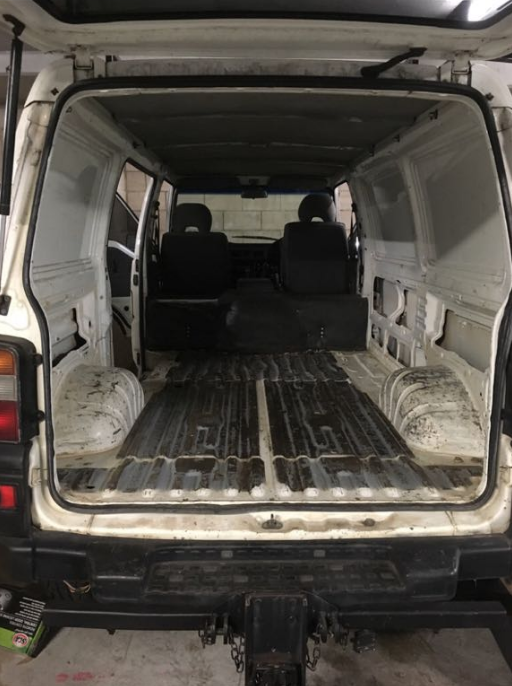
Remedial Work
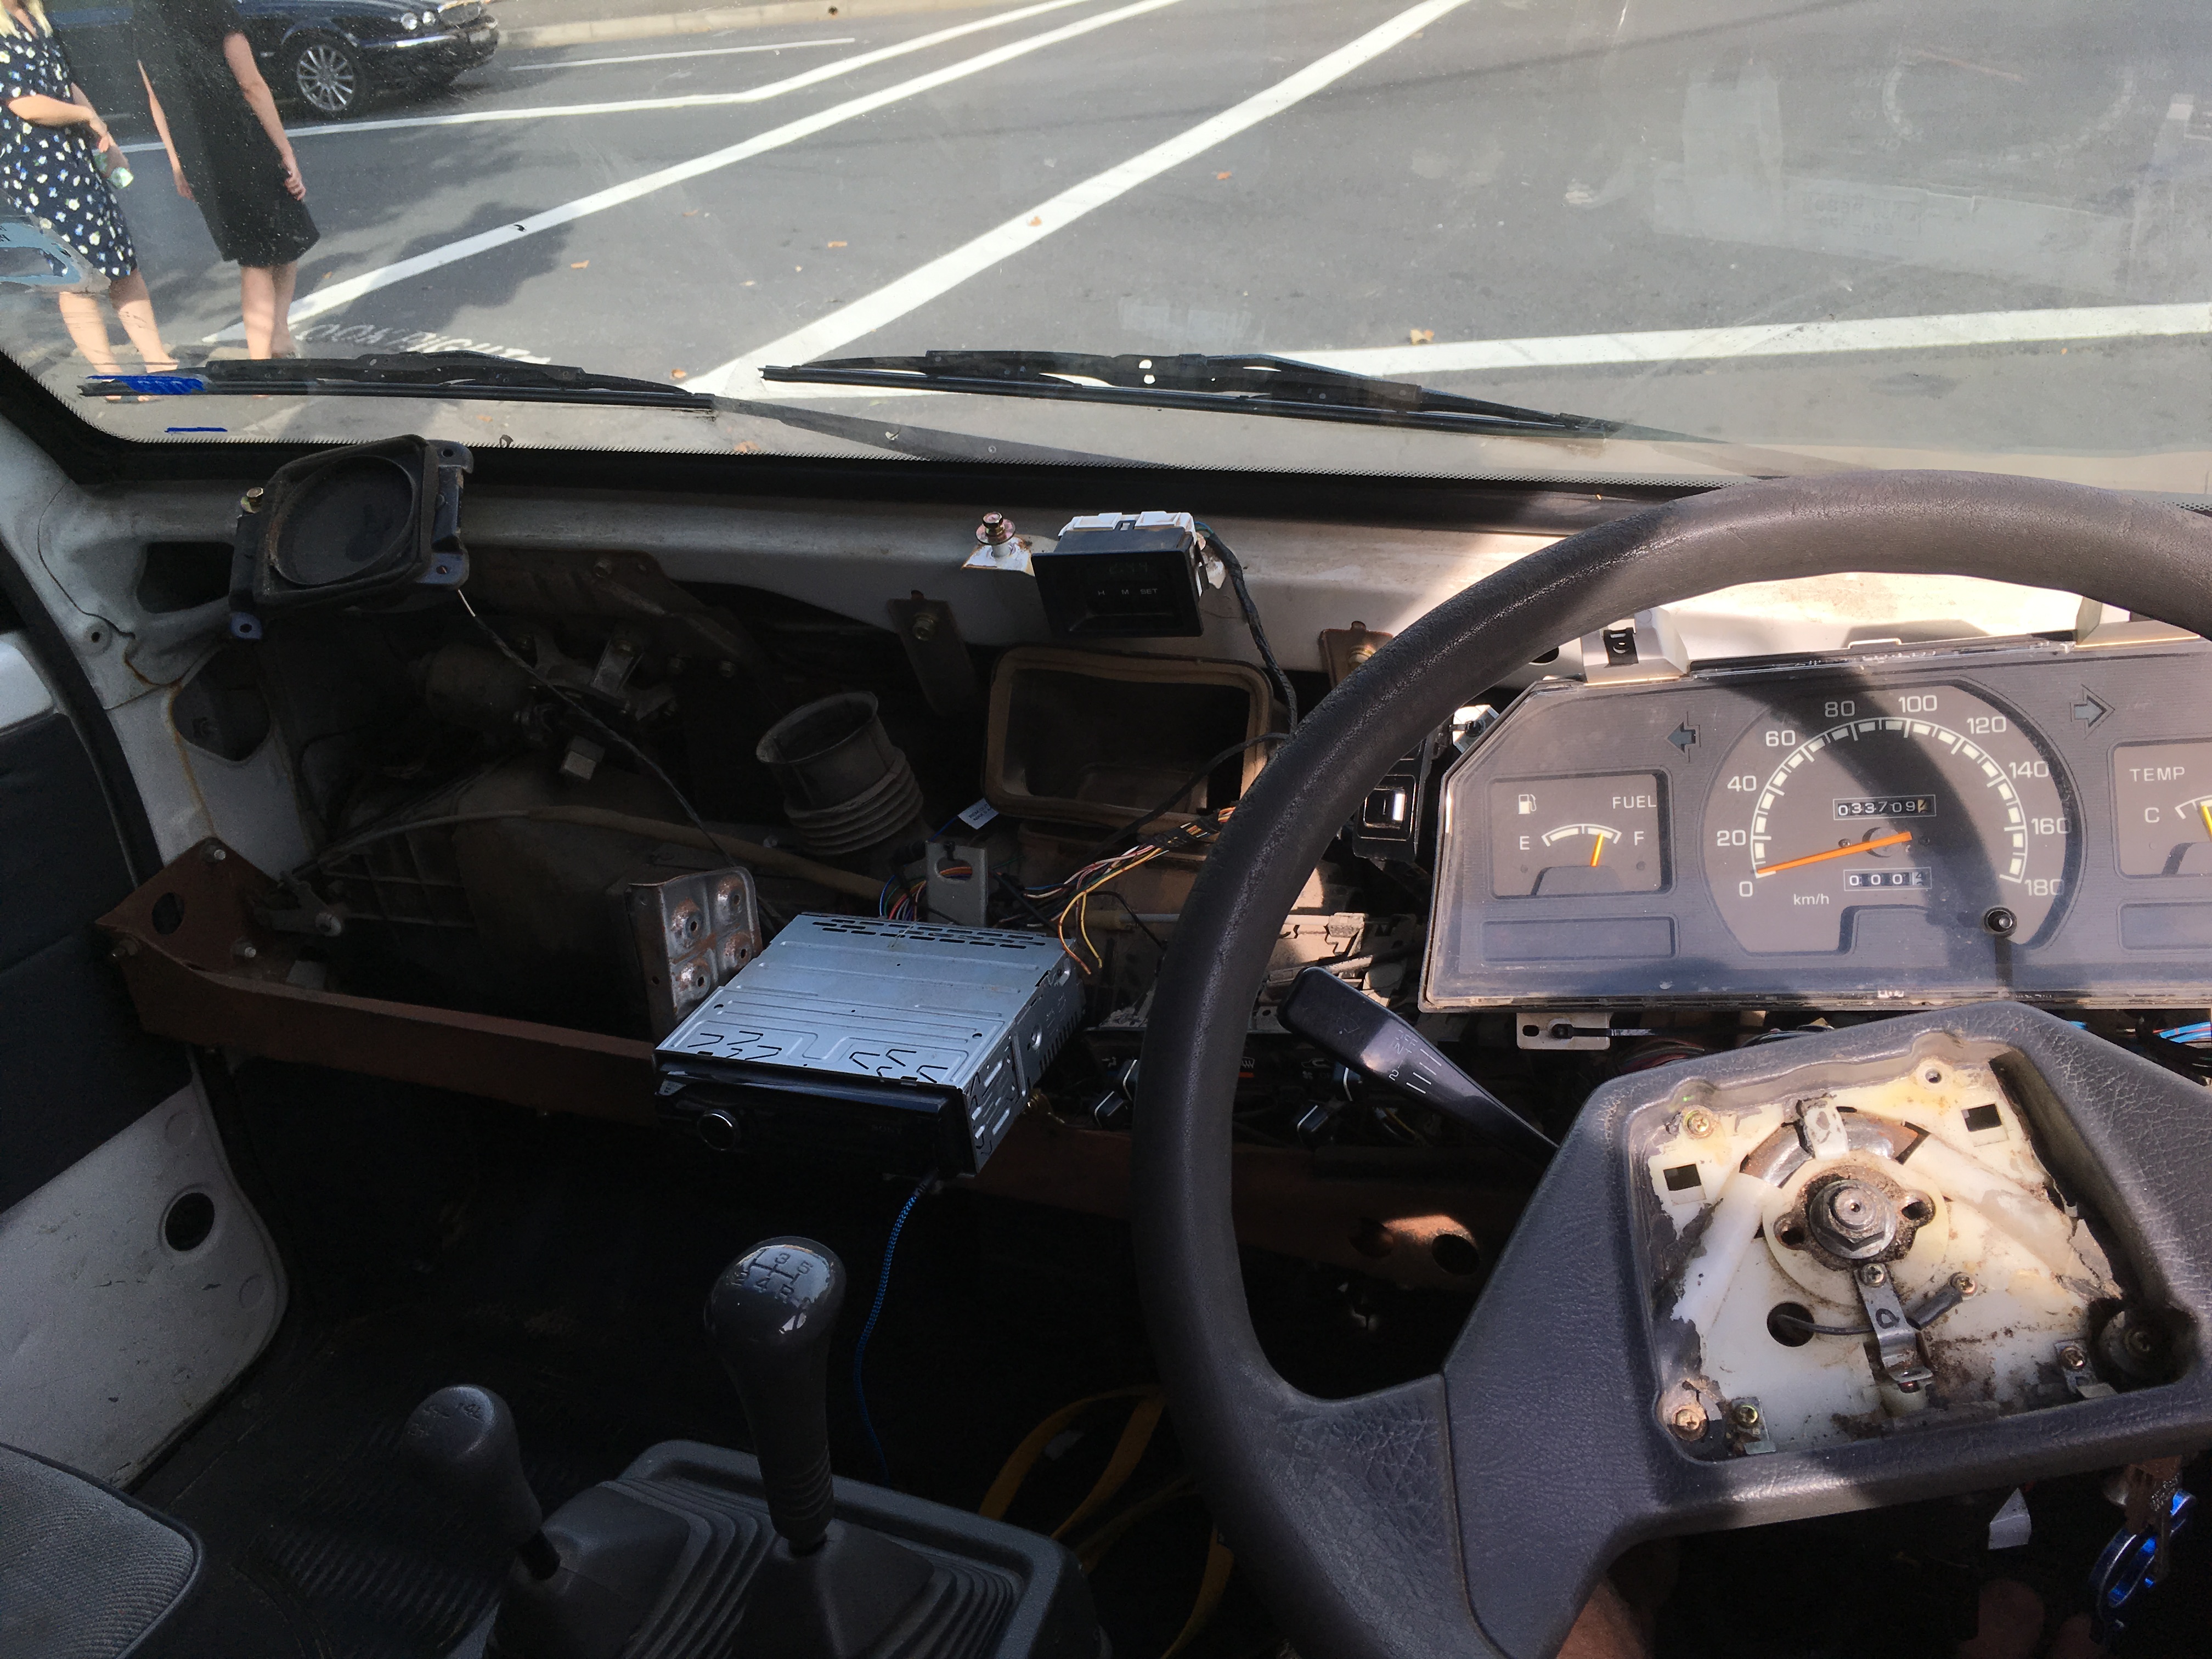
Before we could get cracking with the conversion, there was a bunch of stuff that needed sorting out, mostly electrical:
- Radio wasn’t wired properly (A/T missing)
- Spot lights were in a separate switch mounted on the steering column
- Driving lights were wired straight into the headlights (no relay), which was burning out the circuitry in the lighting stalk
- Horn was broken
- Indicator fuse kept blowing from anderson plug on the tow bar
- No central locking
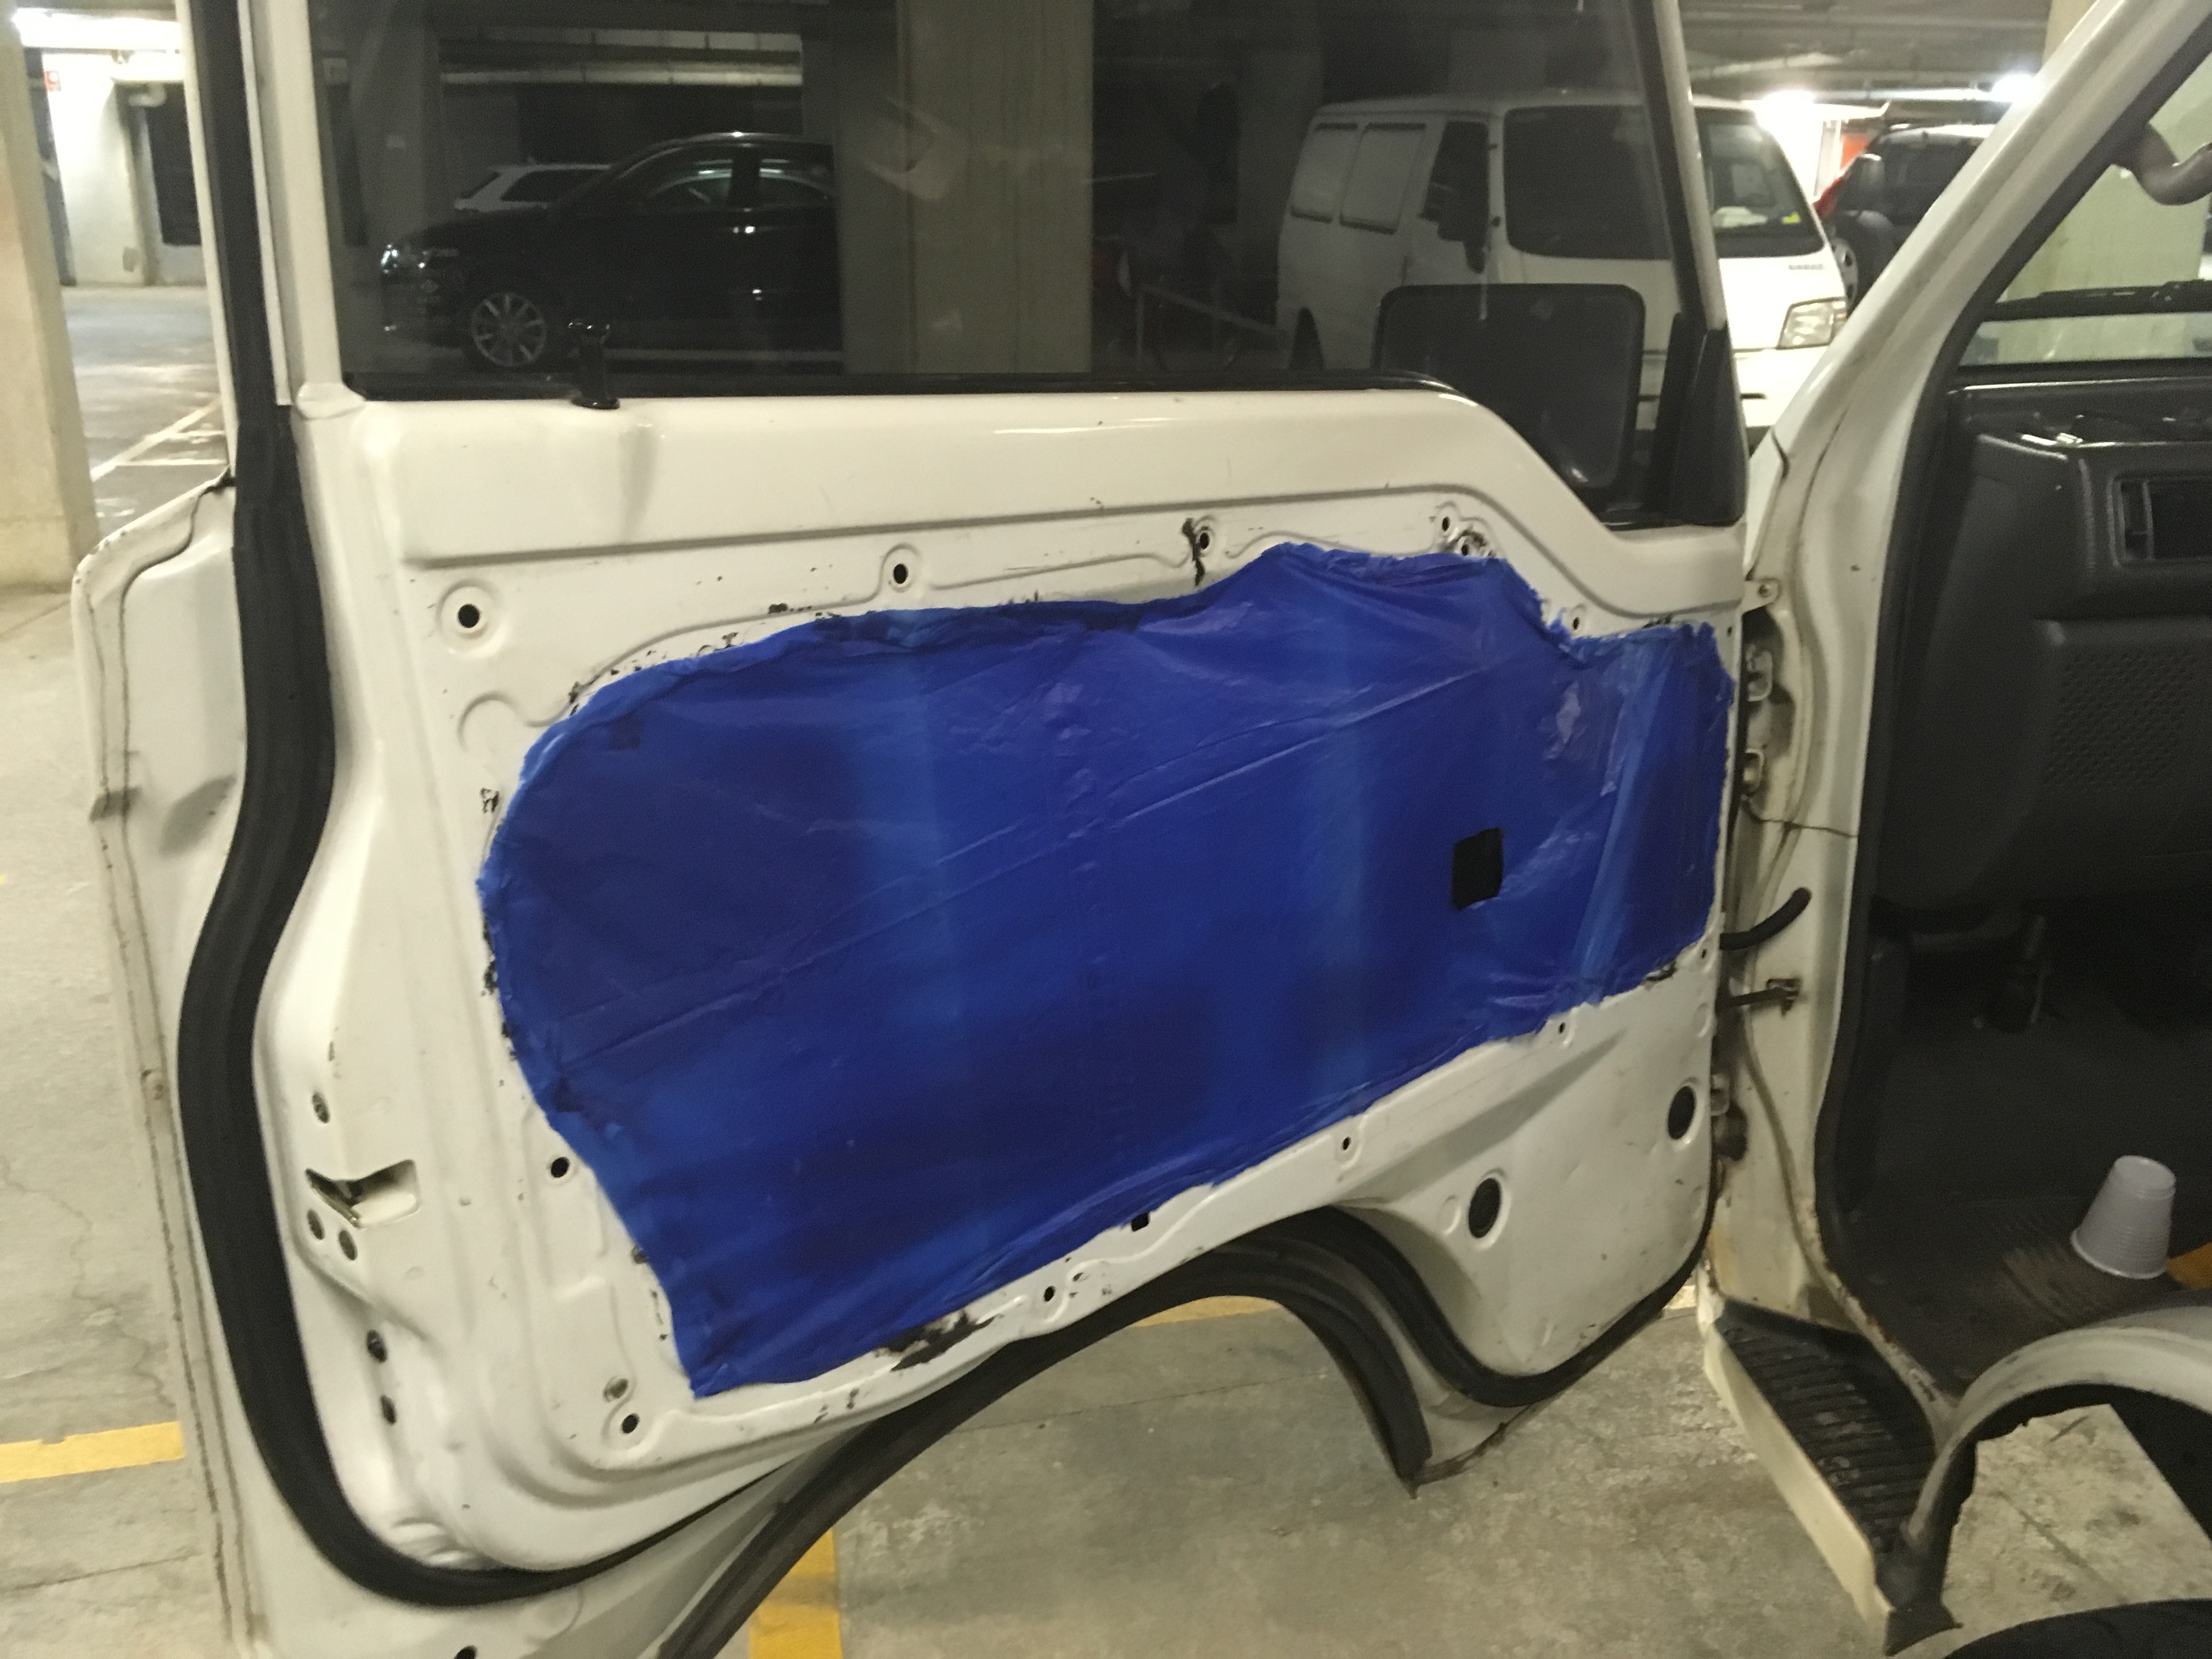
- Original insulation on the floor was starting to melt / degrade
We took the dash off, sorted out all the electrical issues, installed remote central locking and some reversing sensors for good measure.
Next we started scraping the tar smelling insulation off the back floor, a few days of scraping (and much inhaled acetone) later we were done.
Insulation
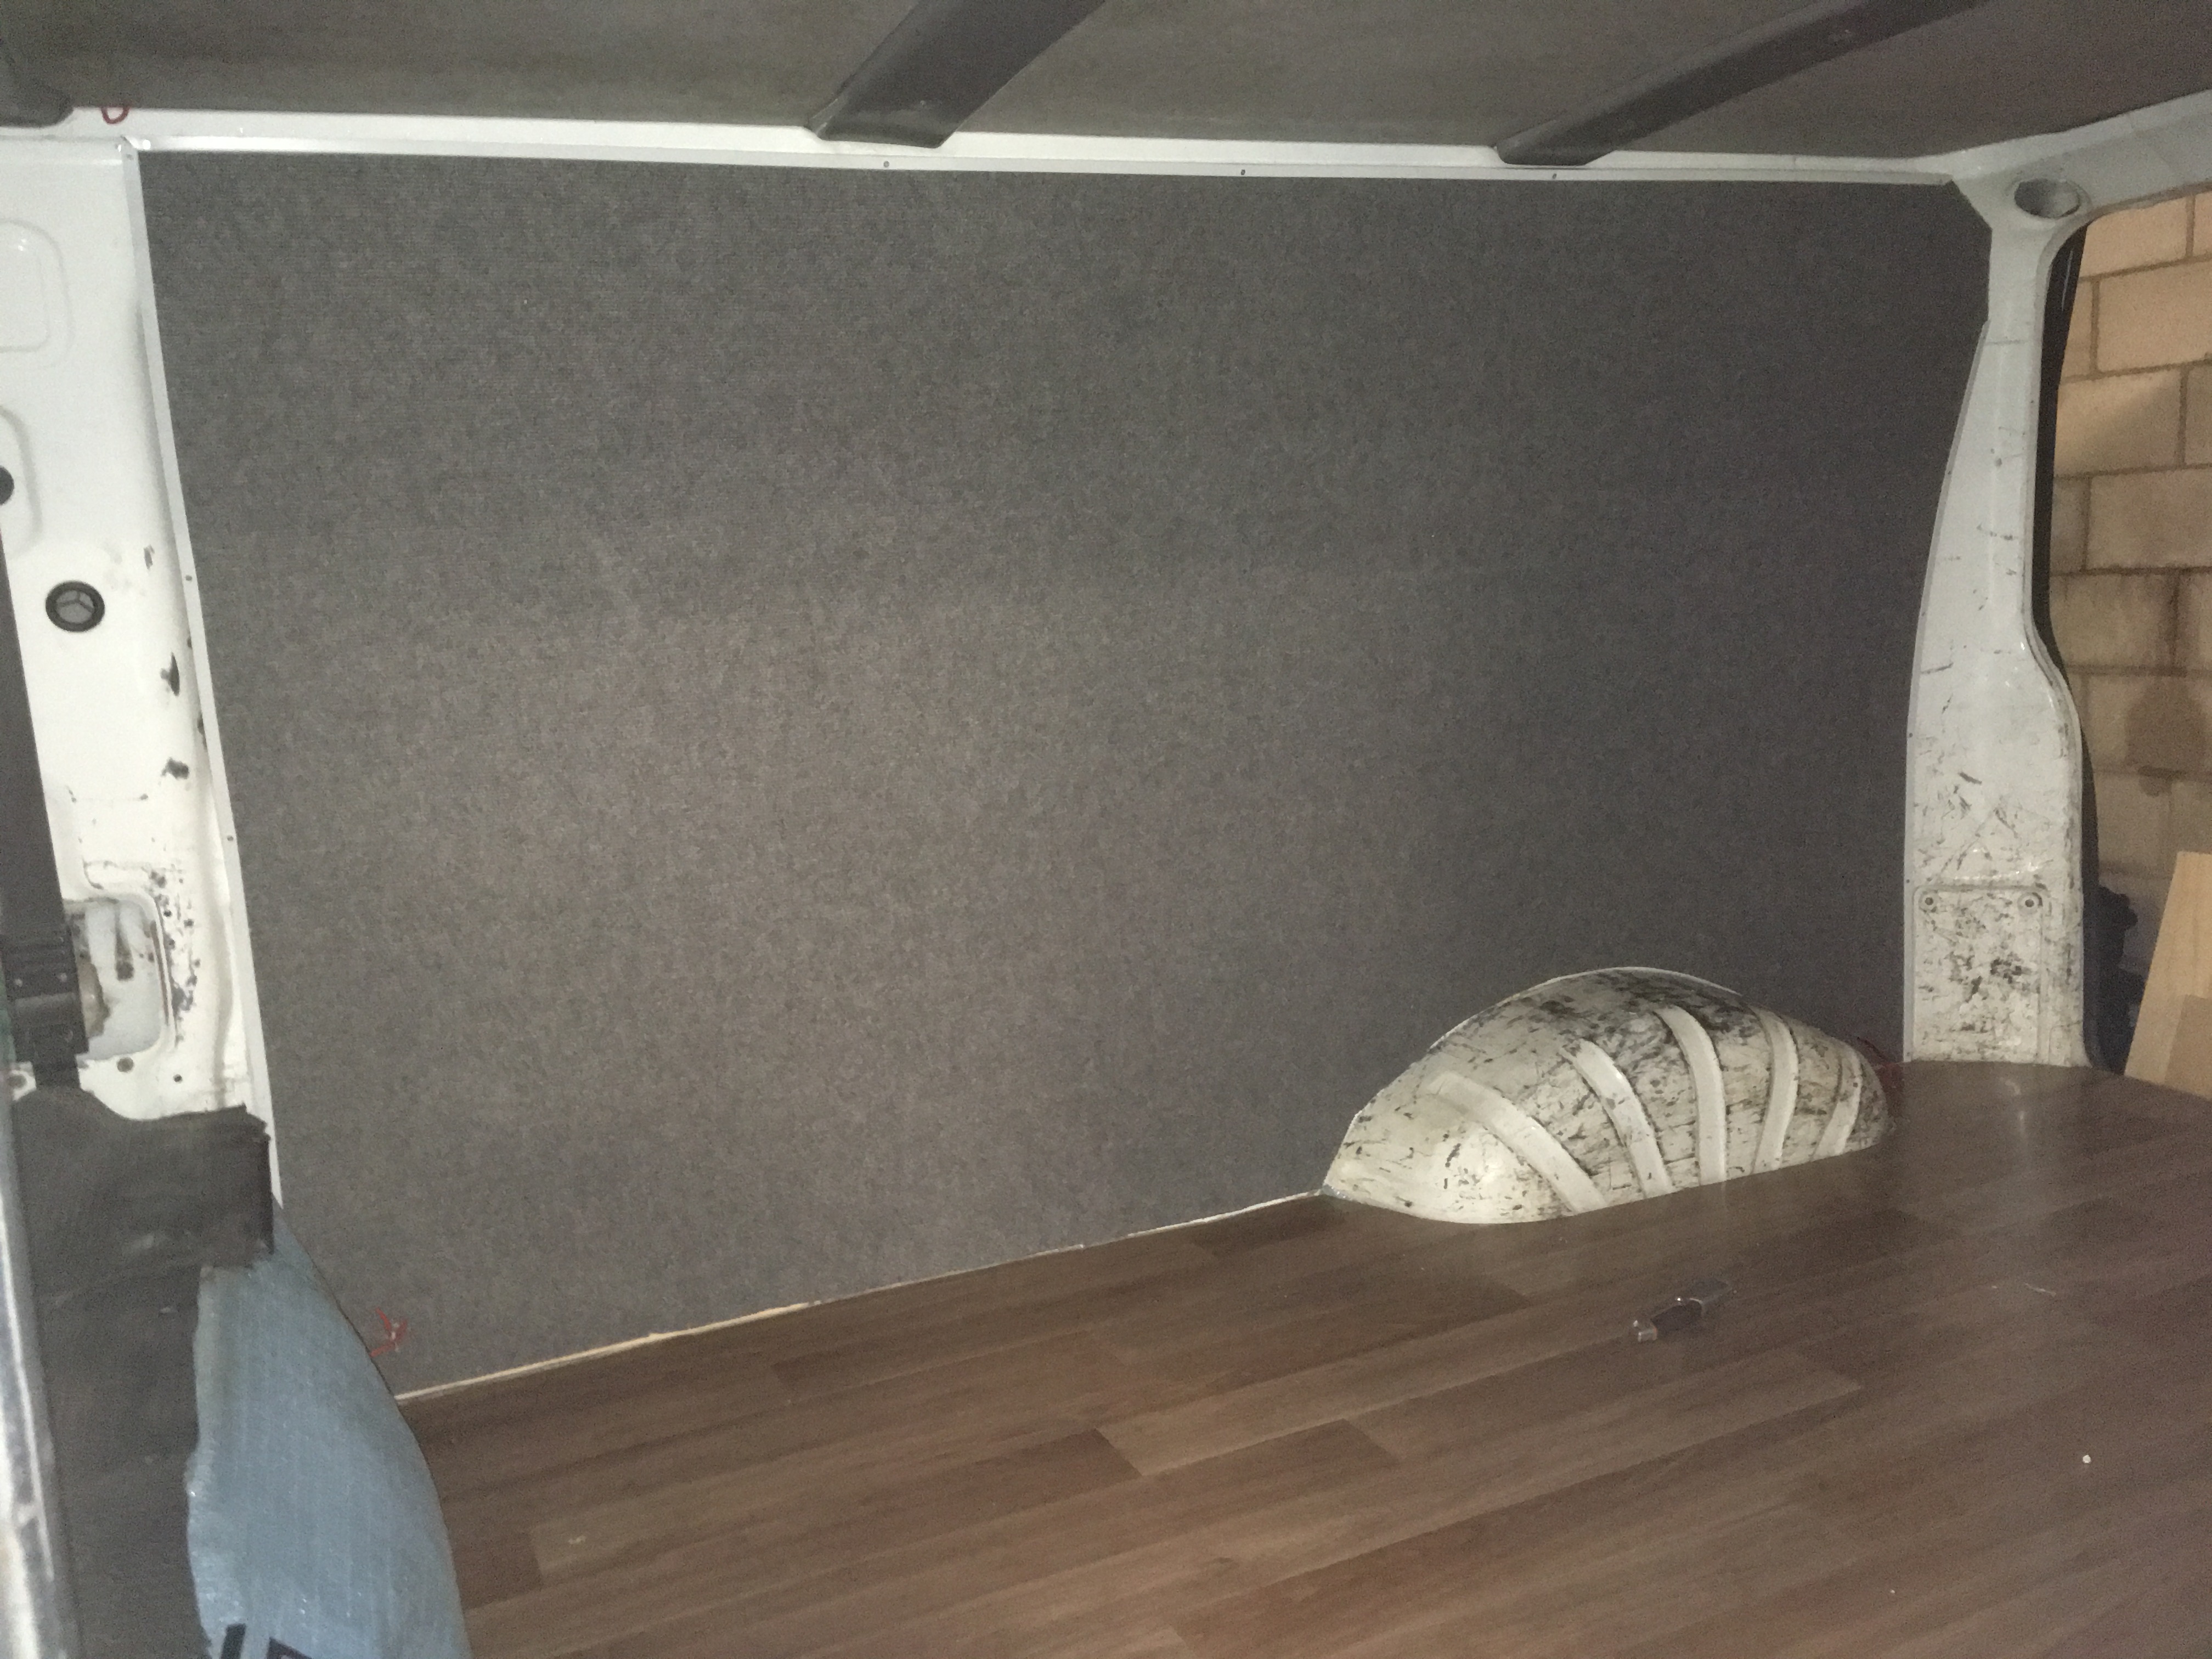
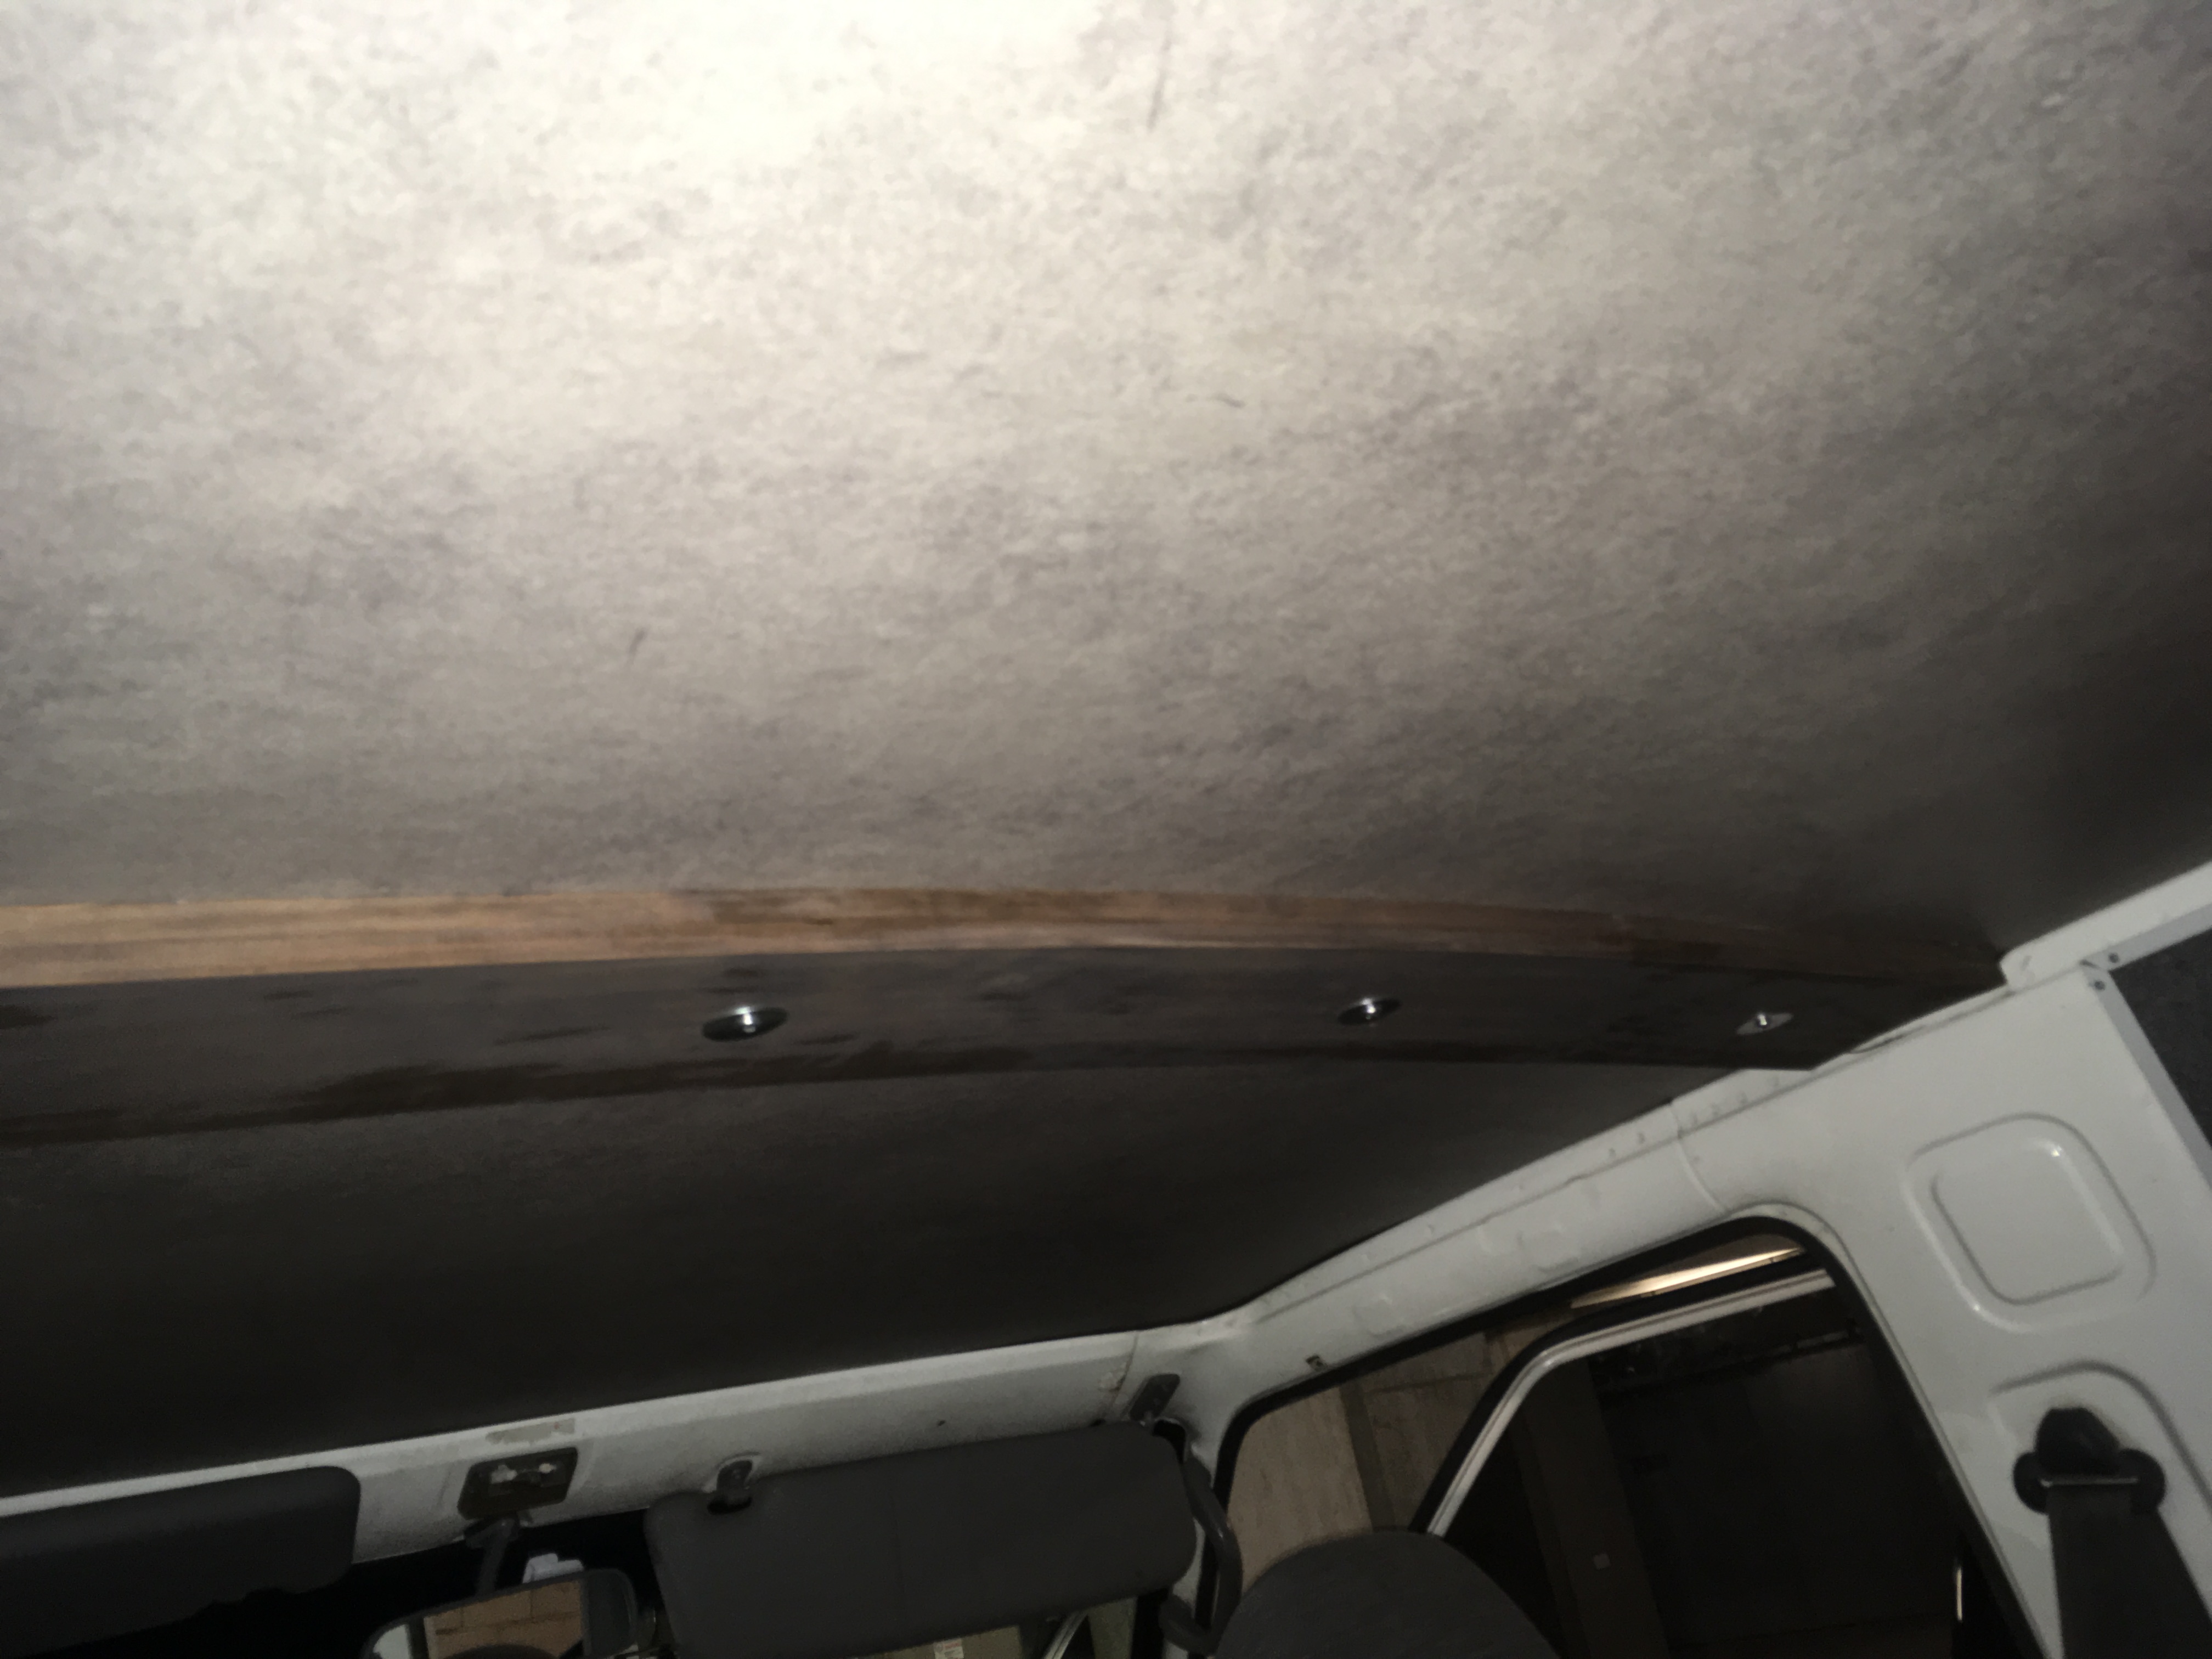
To keep the van cool in the summer and warm in the winter, it’s heavily insulated.
- Floor: 9mm ply atop thermalbrane
- Walls: 7mm ply packed with earthwooll
- Roof: 3mm ply under thermalbrane

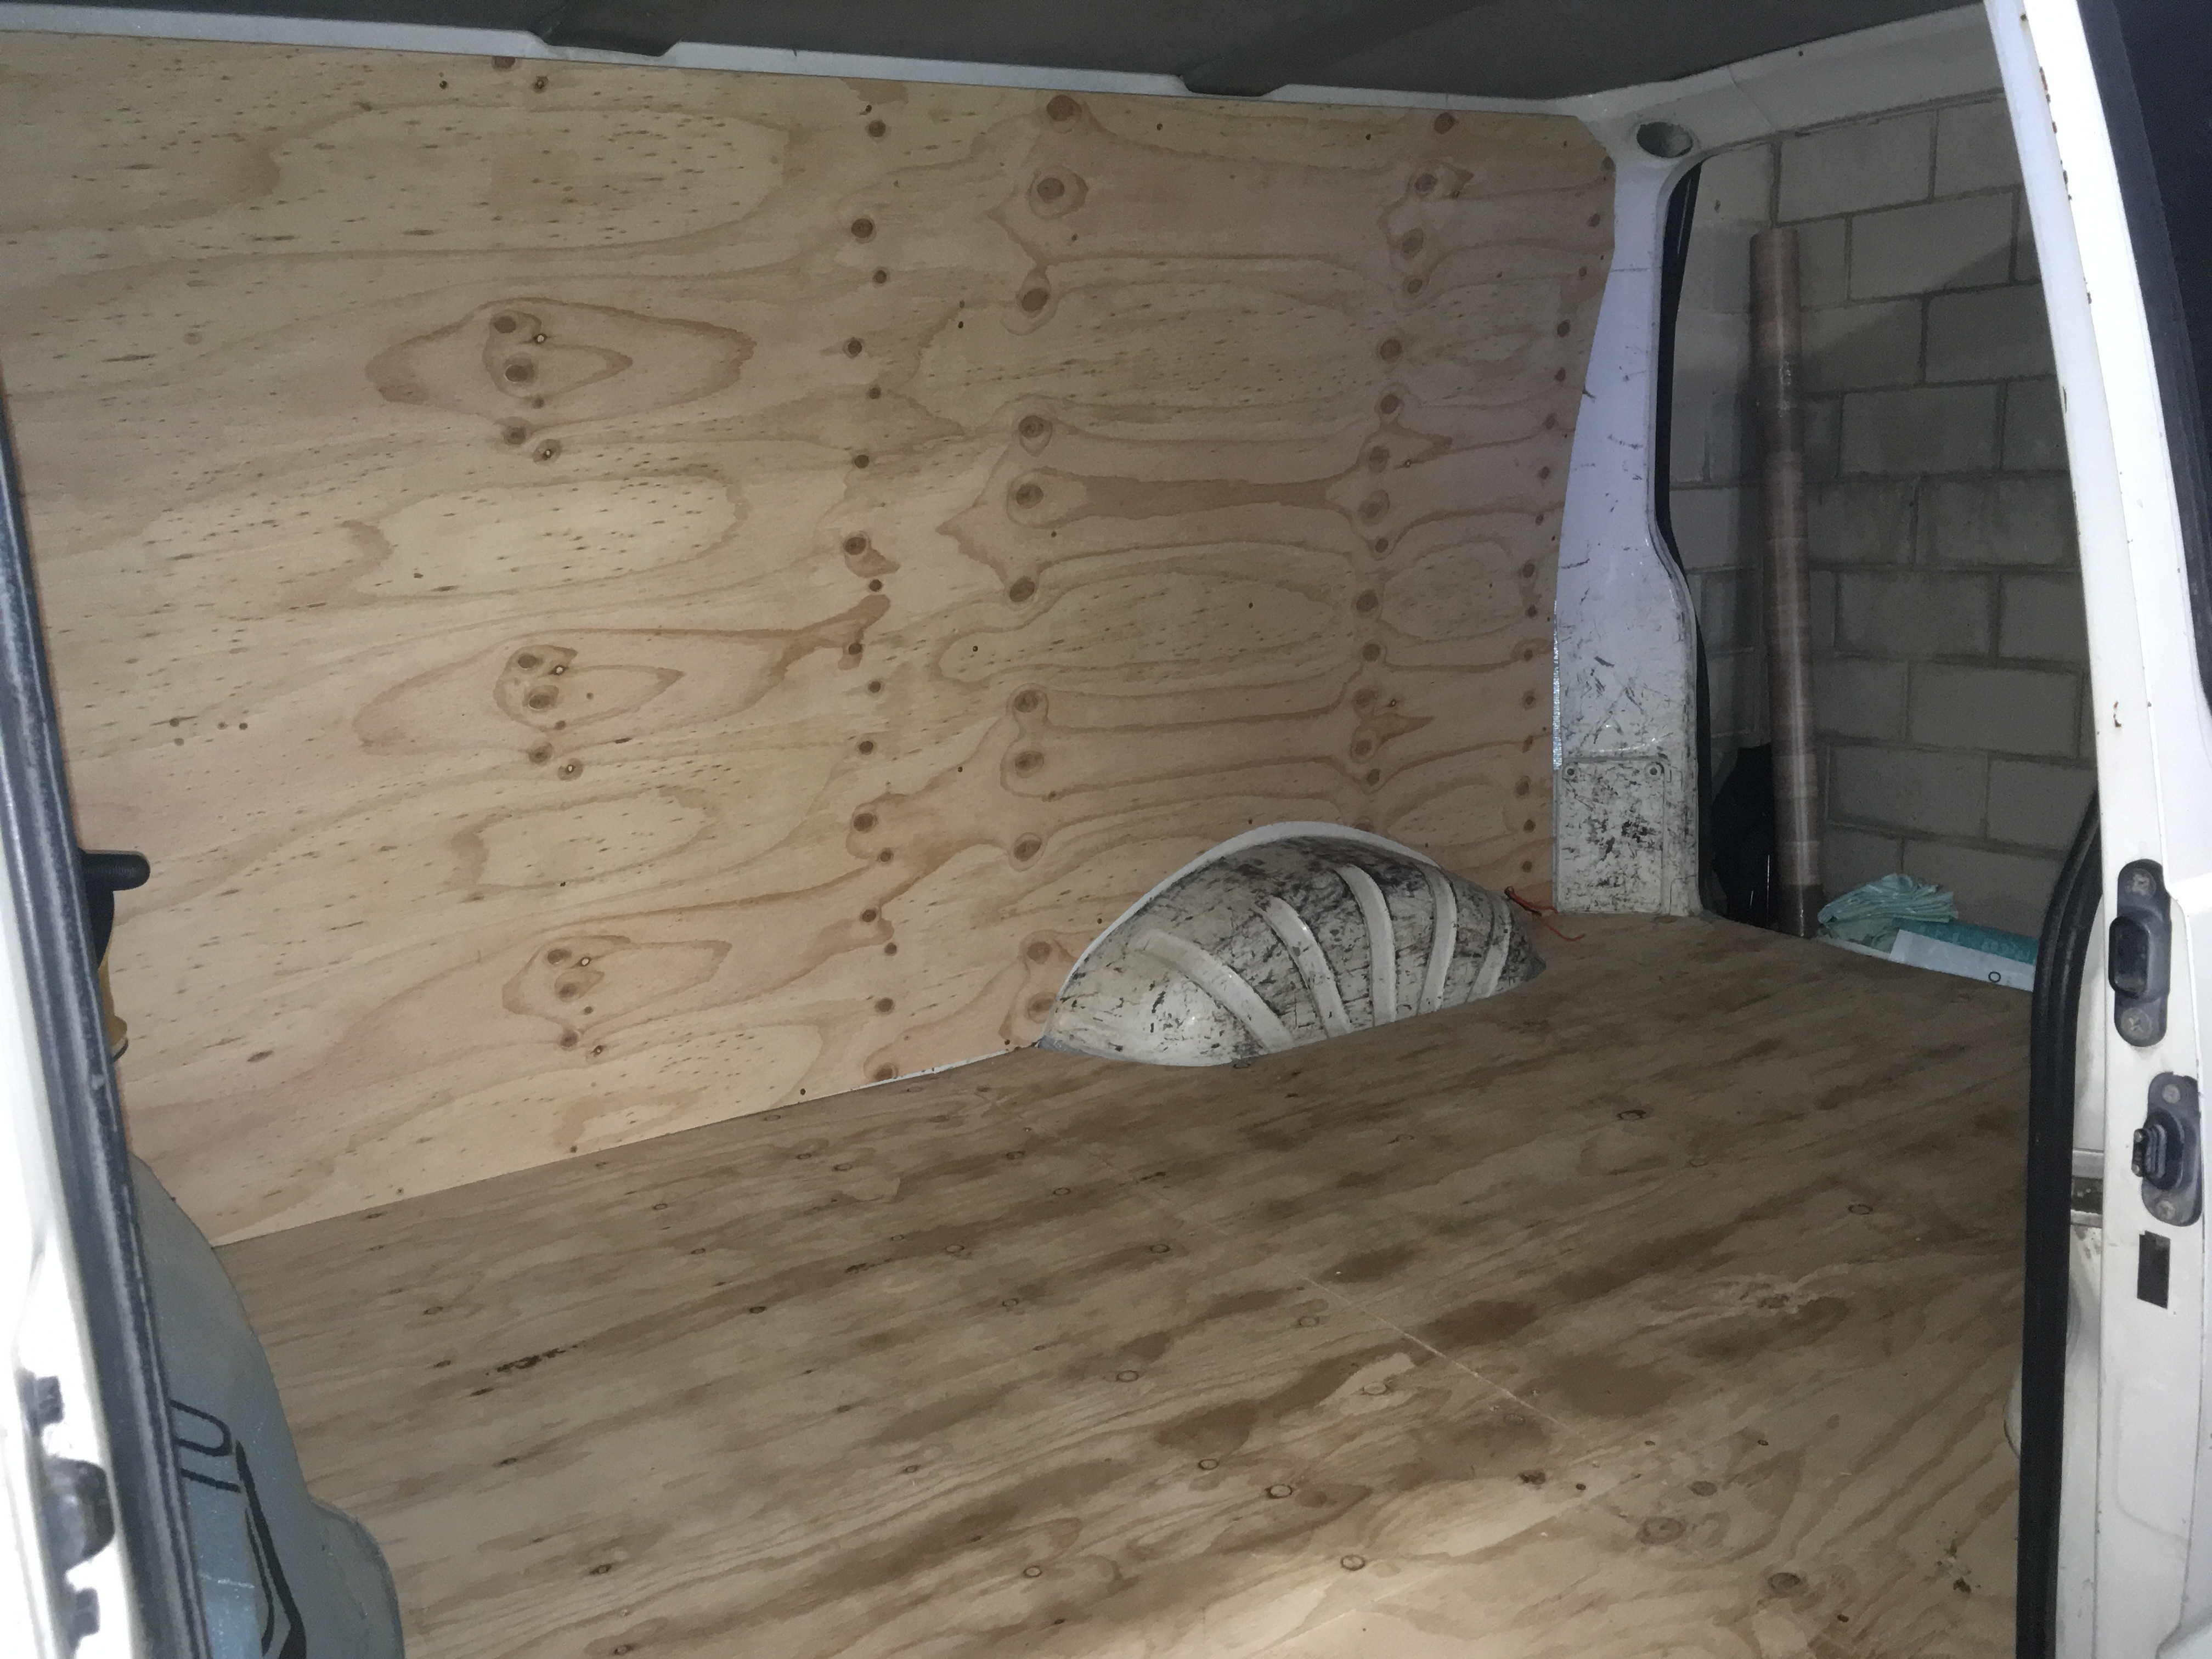
Floor / Wall Covering
For the floors we used Wood-look lino instead of laminate for $$, water resistance and less height.
For the walls, we used grey marine carpet. It’s hard waring, inoffensive and something we could get to stick to the plywood.
Wheel Arches
We boxed the wheel arches in 7mm ply, which we covered in the same marine carpet as the walls. We put hinged lids on top so we could use what limited storage they offered, in 12mm pine DAR stained and varnished.
We’ve used the same wood finish all over the van.

Engine Box
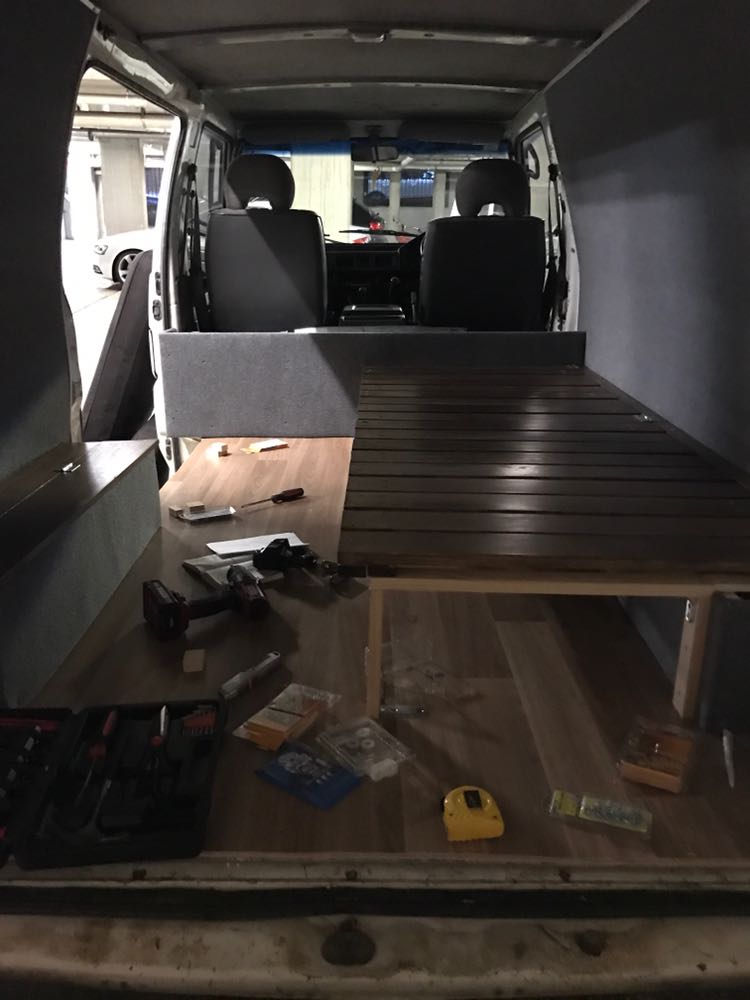
The engine in the van is under the front seats, so you get a bulge where the firewall of the engine comes into the back of the van.
We to boxed this off to get everything as square as possible. This also added a bit of storage where the bulge tapers away from the middle of the engine, plus allowing us to stuff it with insulation to keep things cooler.
Boxing method ditto wheel arches.

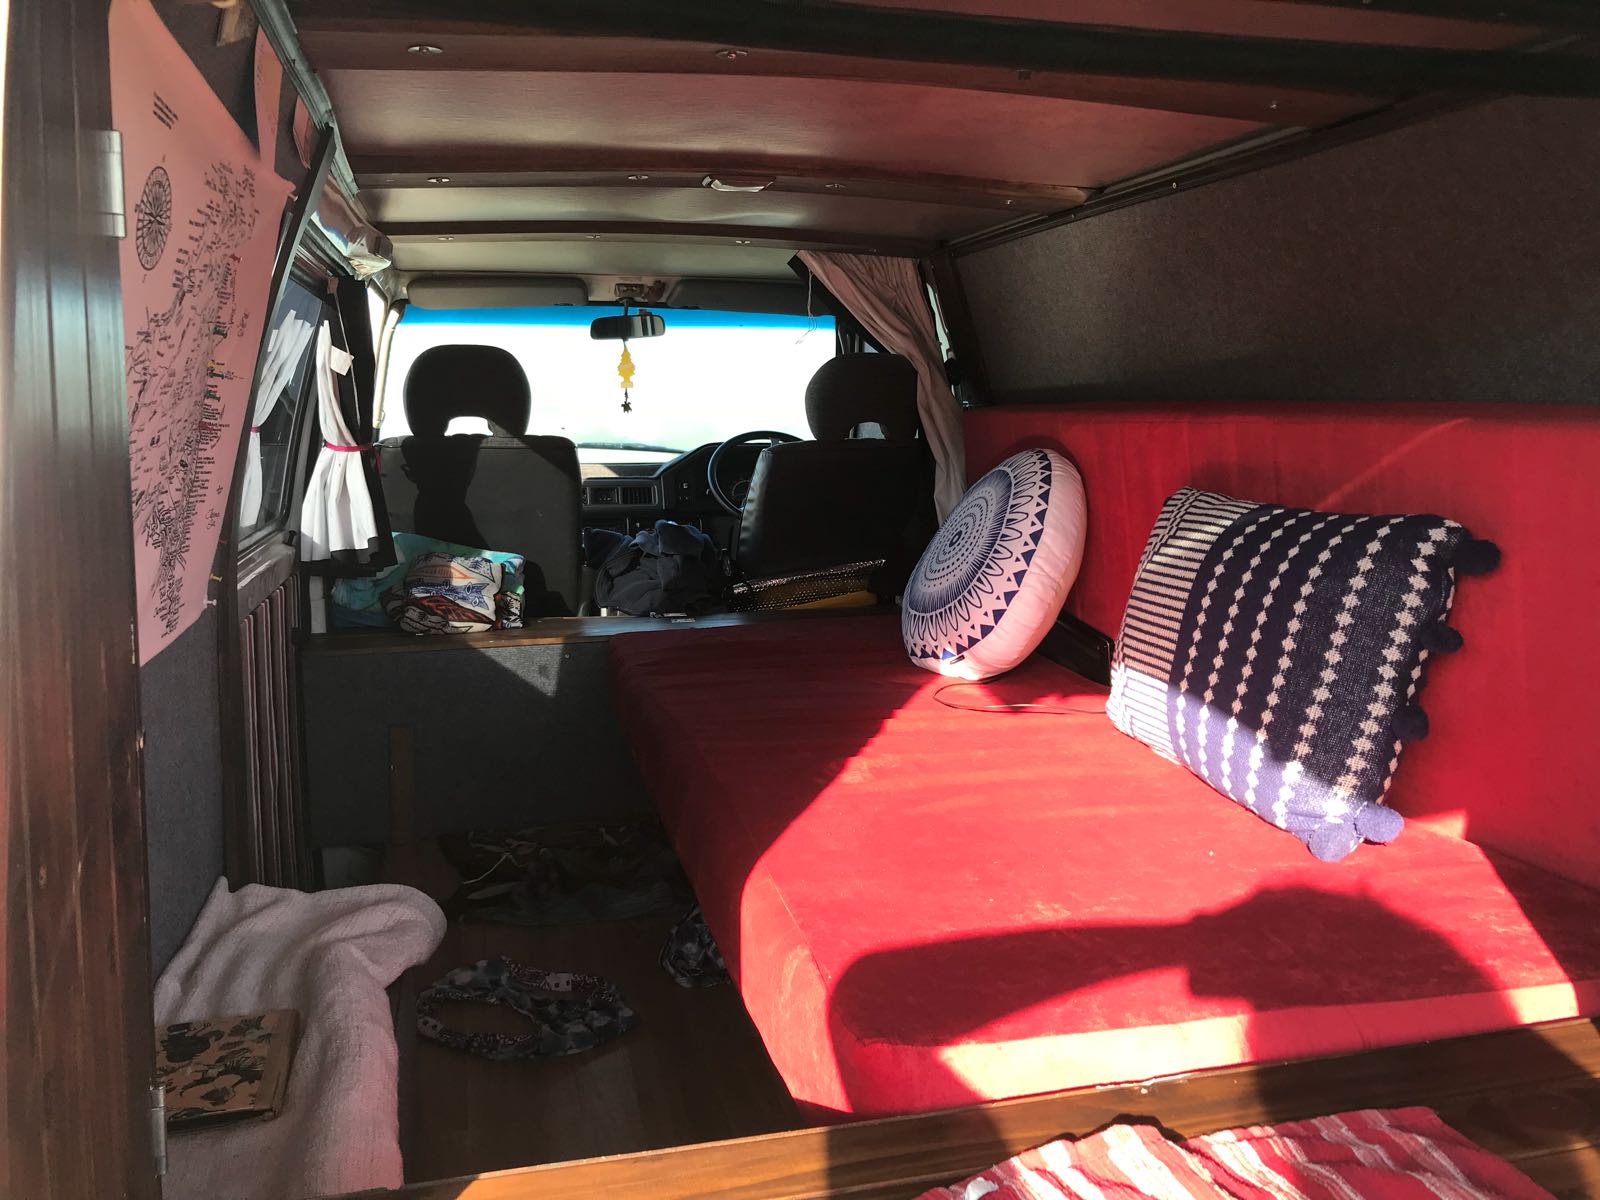
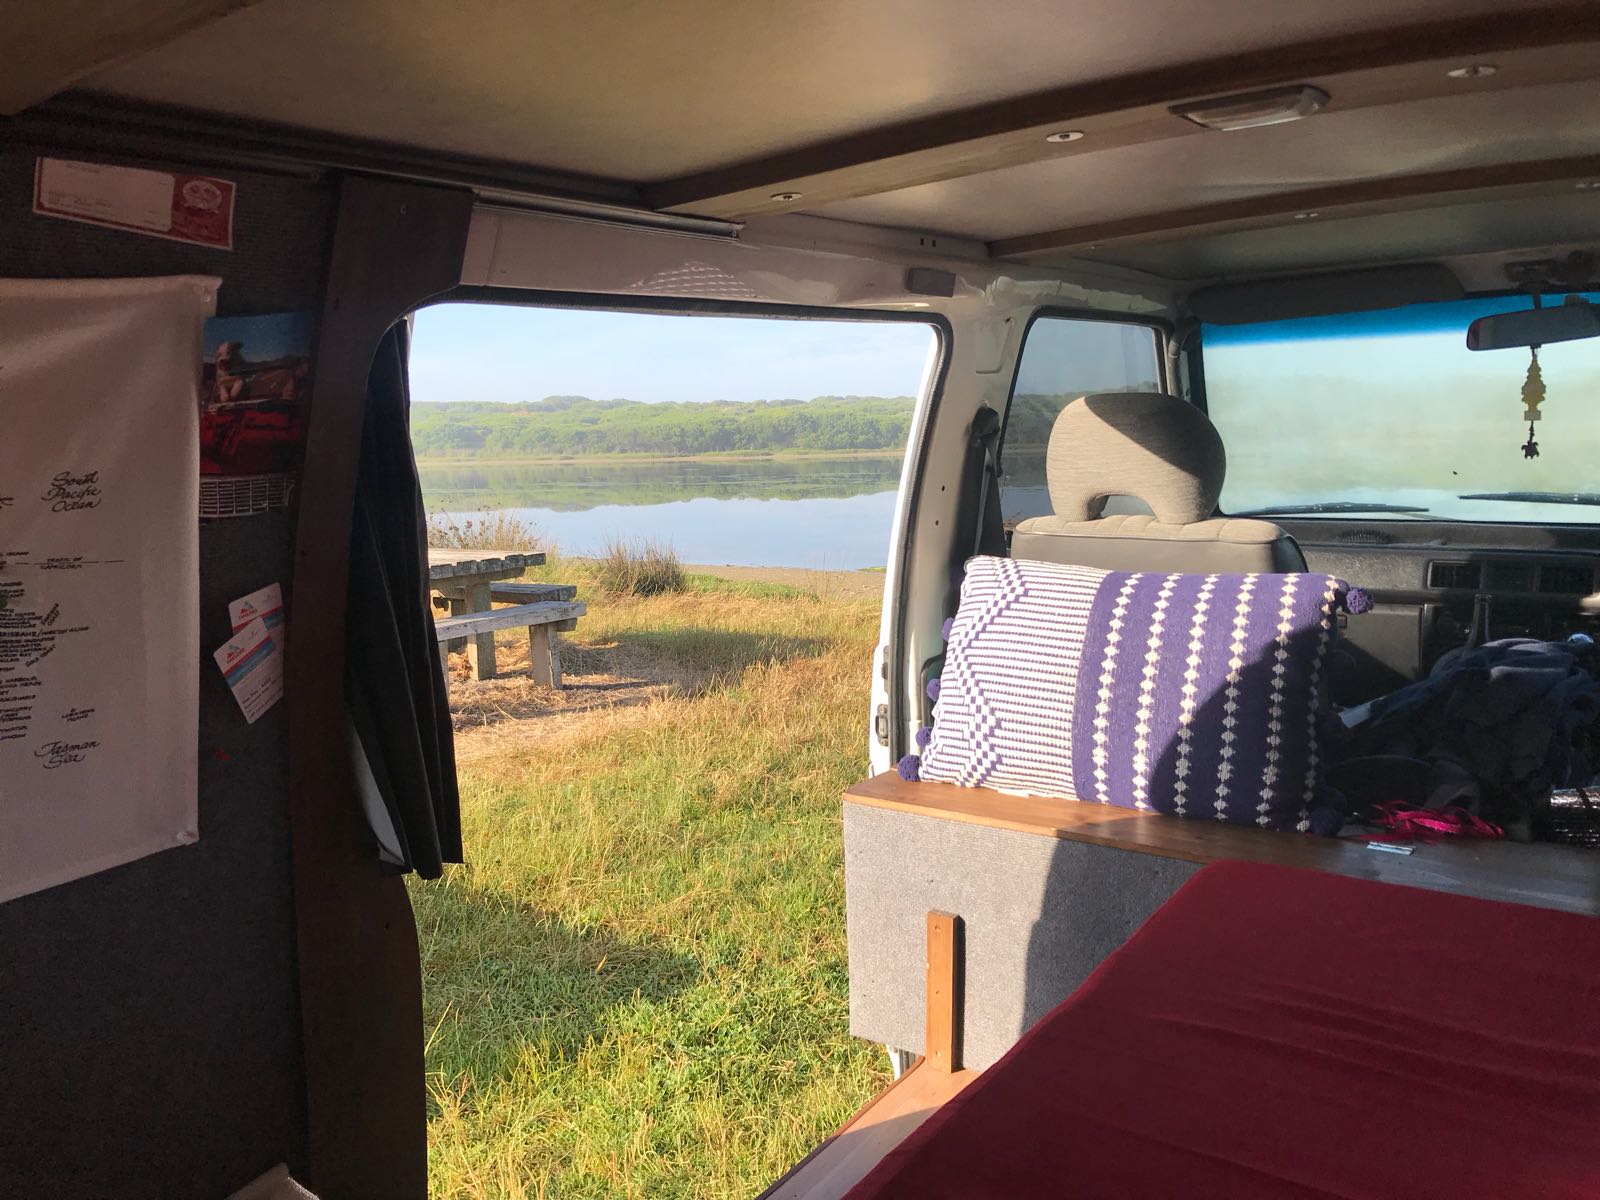
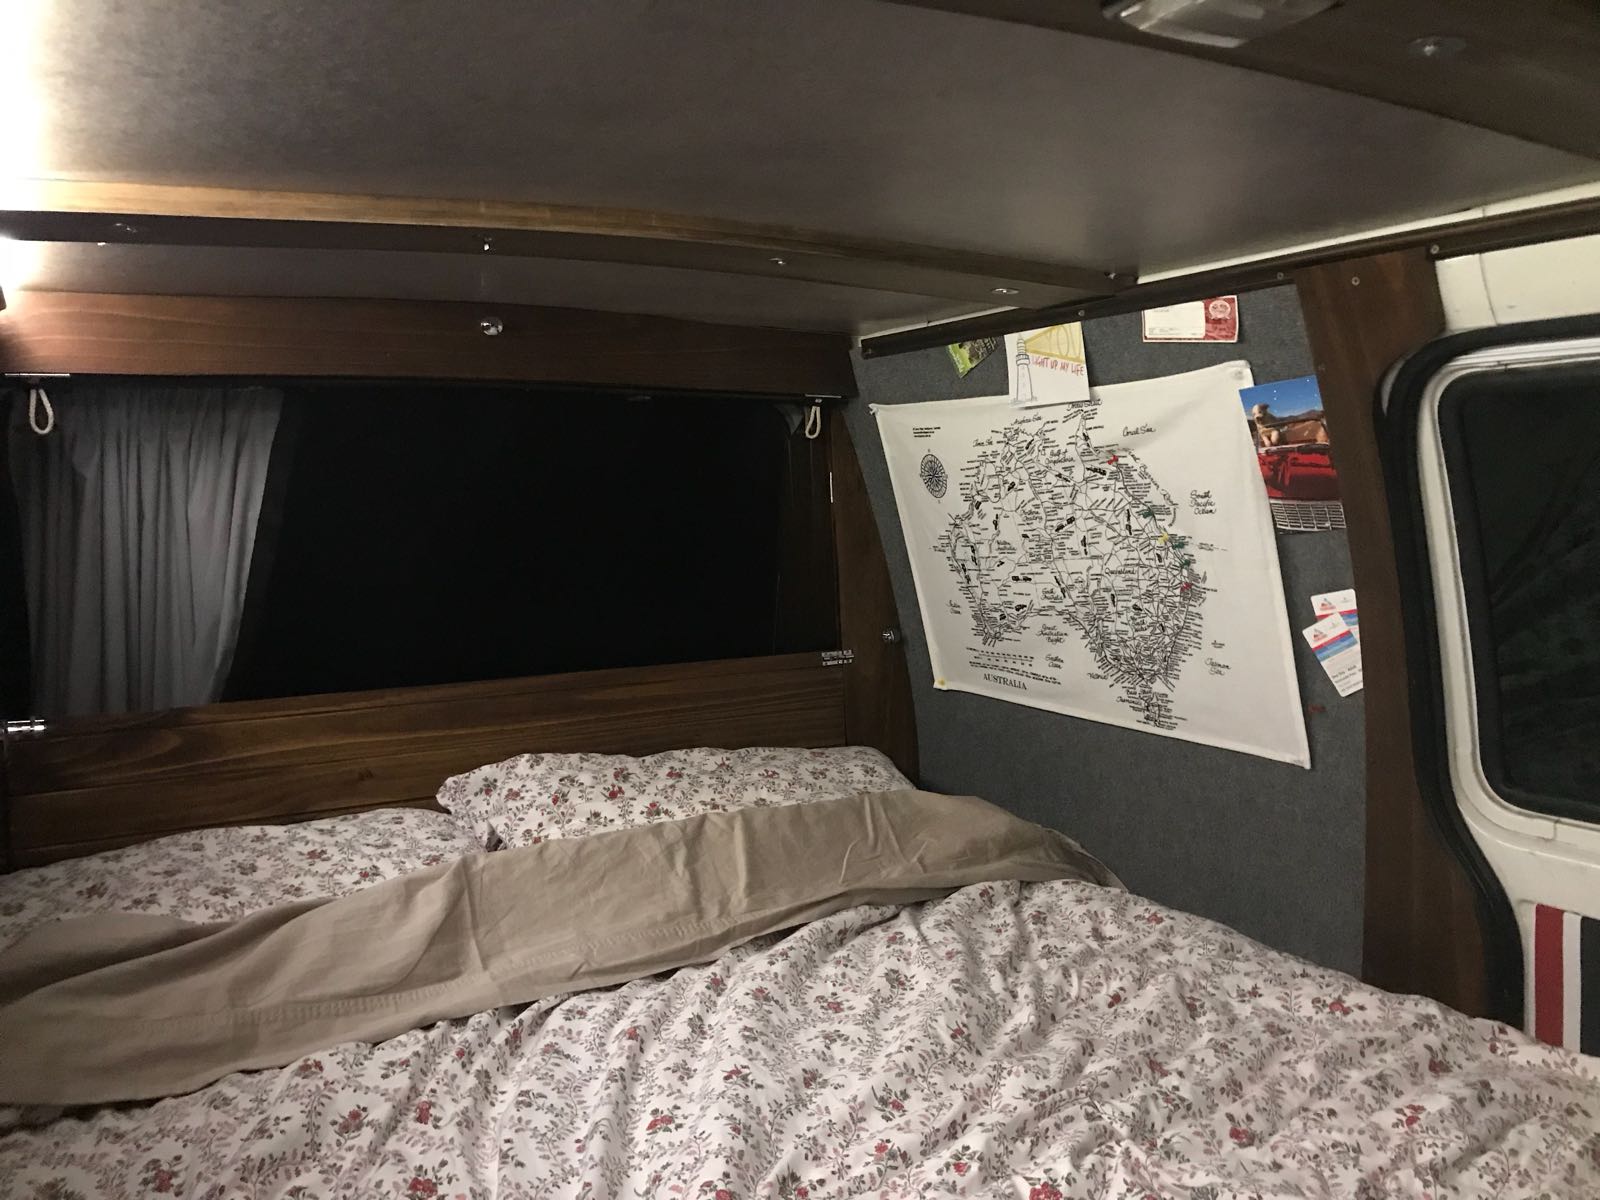
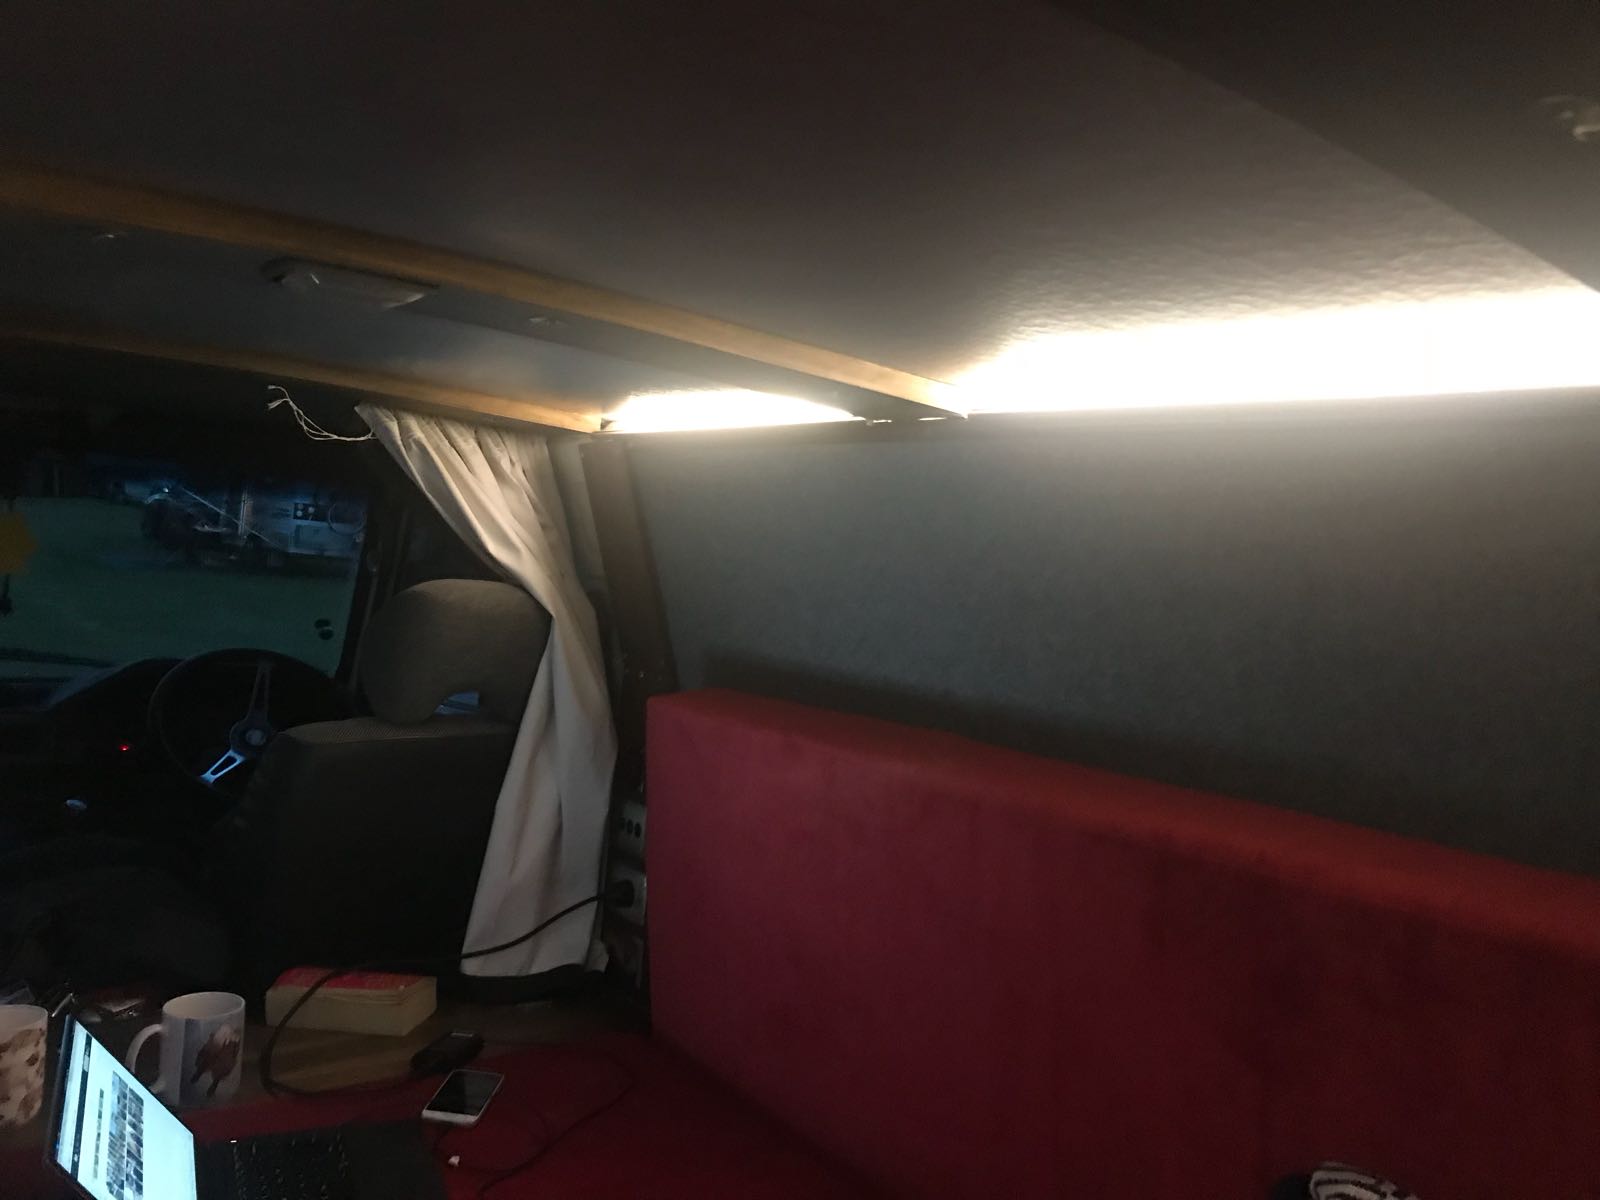
Sofabed
When working on the conversion we had one thing in mind - we wanted the van to be really comfortable and an environment you’d be happy spending some time in. Most of the vans we see on the road are very basic. The ones that are done well often have the bed permanently in “bed” mode, and really close to the roof. This is great for storage but doesn’t make for a nice space to chill out.
We designed the sofabed to be as low as we could whilst still being comfortable to sit on and offering enough room for the house battery and electrics to fit underneath. We also wanted the top of the seat / mattress to line up with the engine box, so you could use the extra space to stretch out.
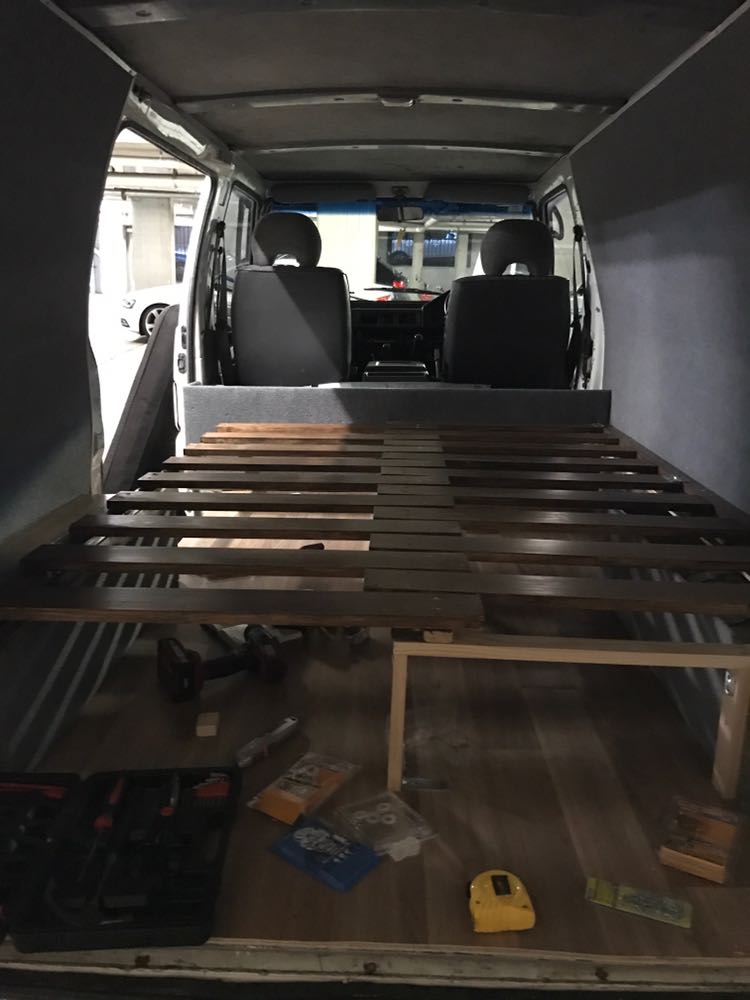
The bed is made of two halves, each of which have offset slats.
In “Sofa” mode, the two halves are pushed together and there is no space between the slats. The two halves together make the base of the sofa, while the back is the wall of the van.
To turn the sofa into a bed, you pull one of the halves out towards you, which leaves a gap between the slats (same as a normal double bed). There’s a small leg that screws into the floor near the passenger door to offer extra support (this area takes a lot of stress when you get in and out of the van).
The whole bed is hinged and lifts up via a pneumatic stay to give access to storage underneath.
For the mattress we took advice from the foam shop we went to who are specialists. The custom made foam mattress (including the upholstery) is our single most expensive item in the conversion.
The bed has the same dimensions as a double, but is much longer with the engine box and kitchen top taken into consideration.

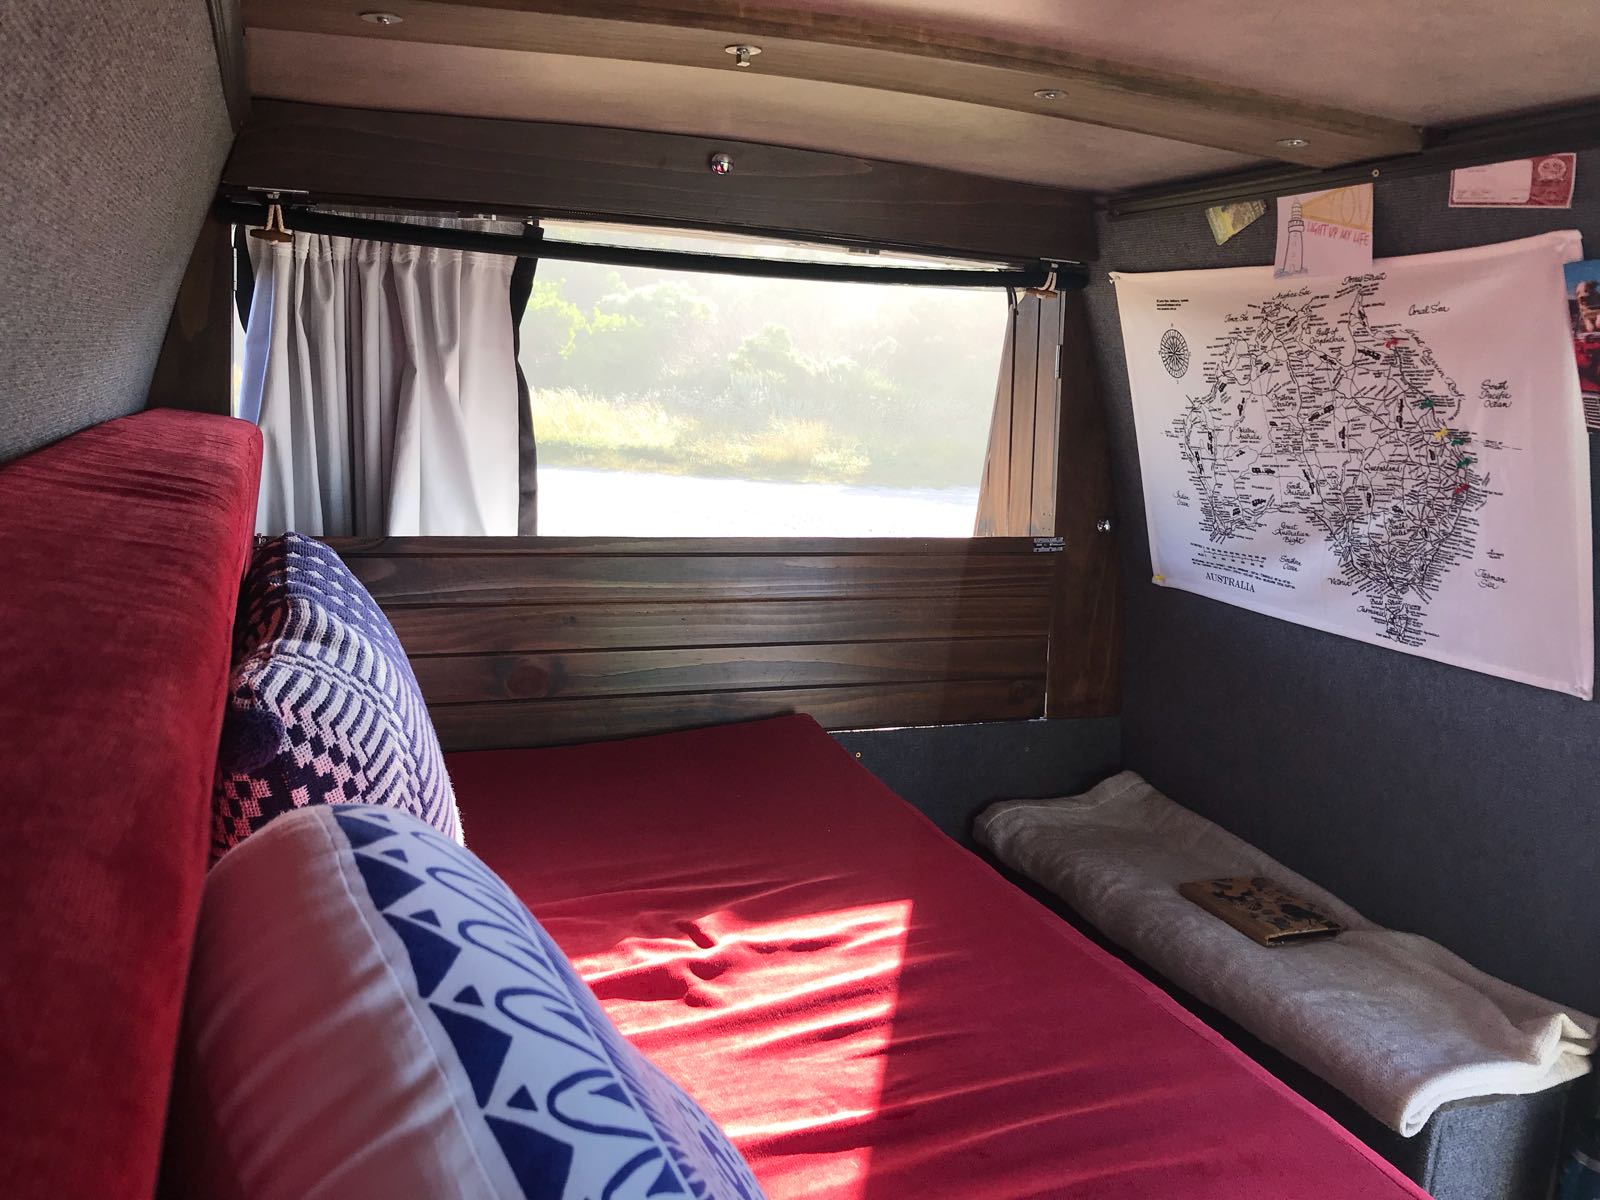
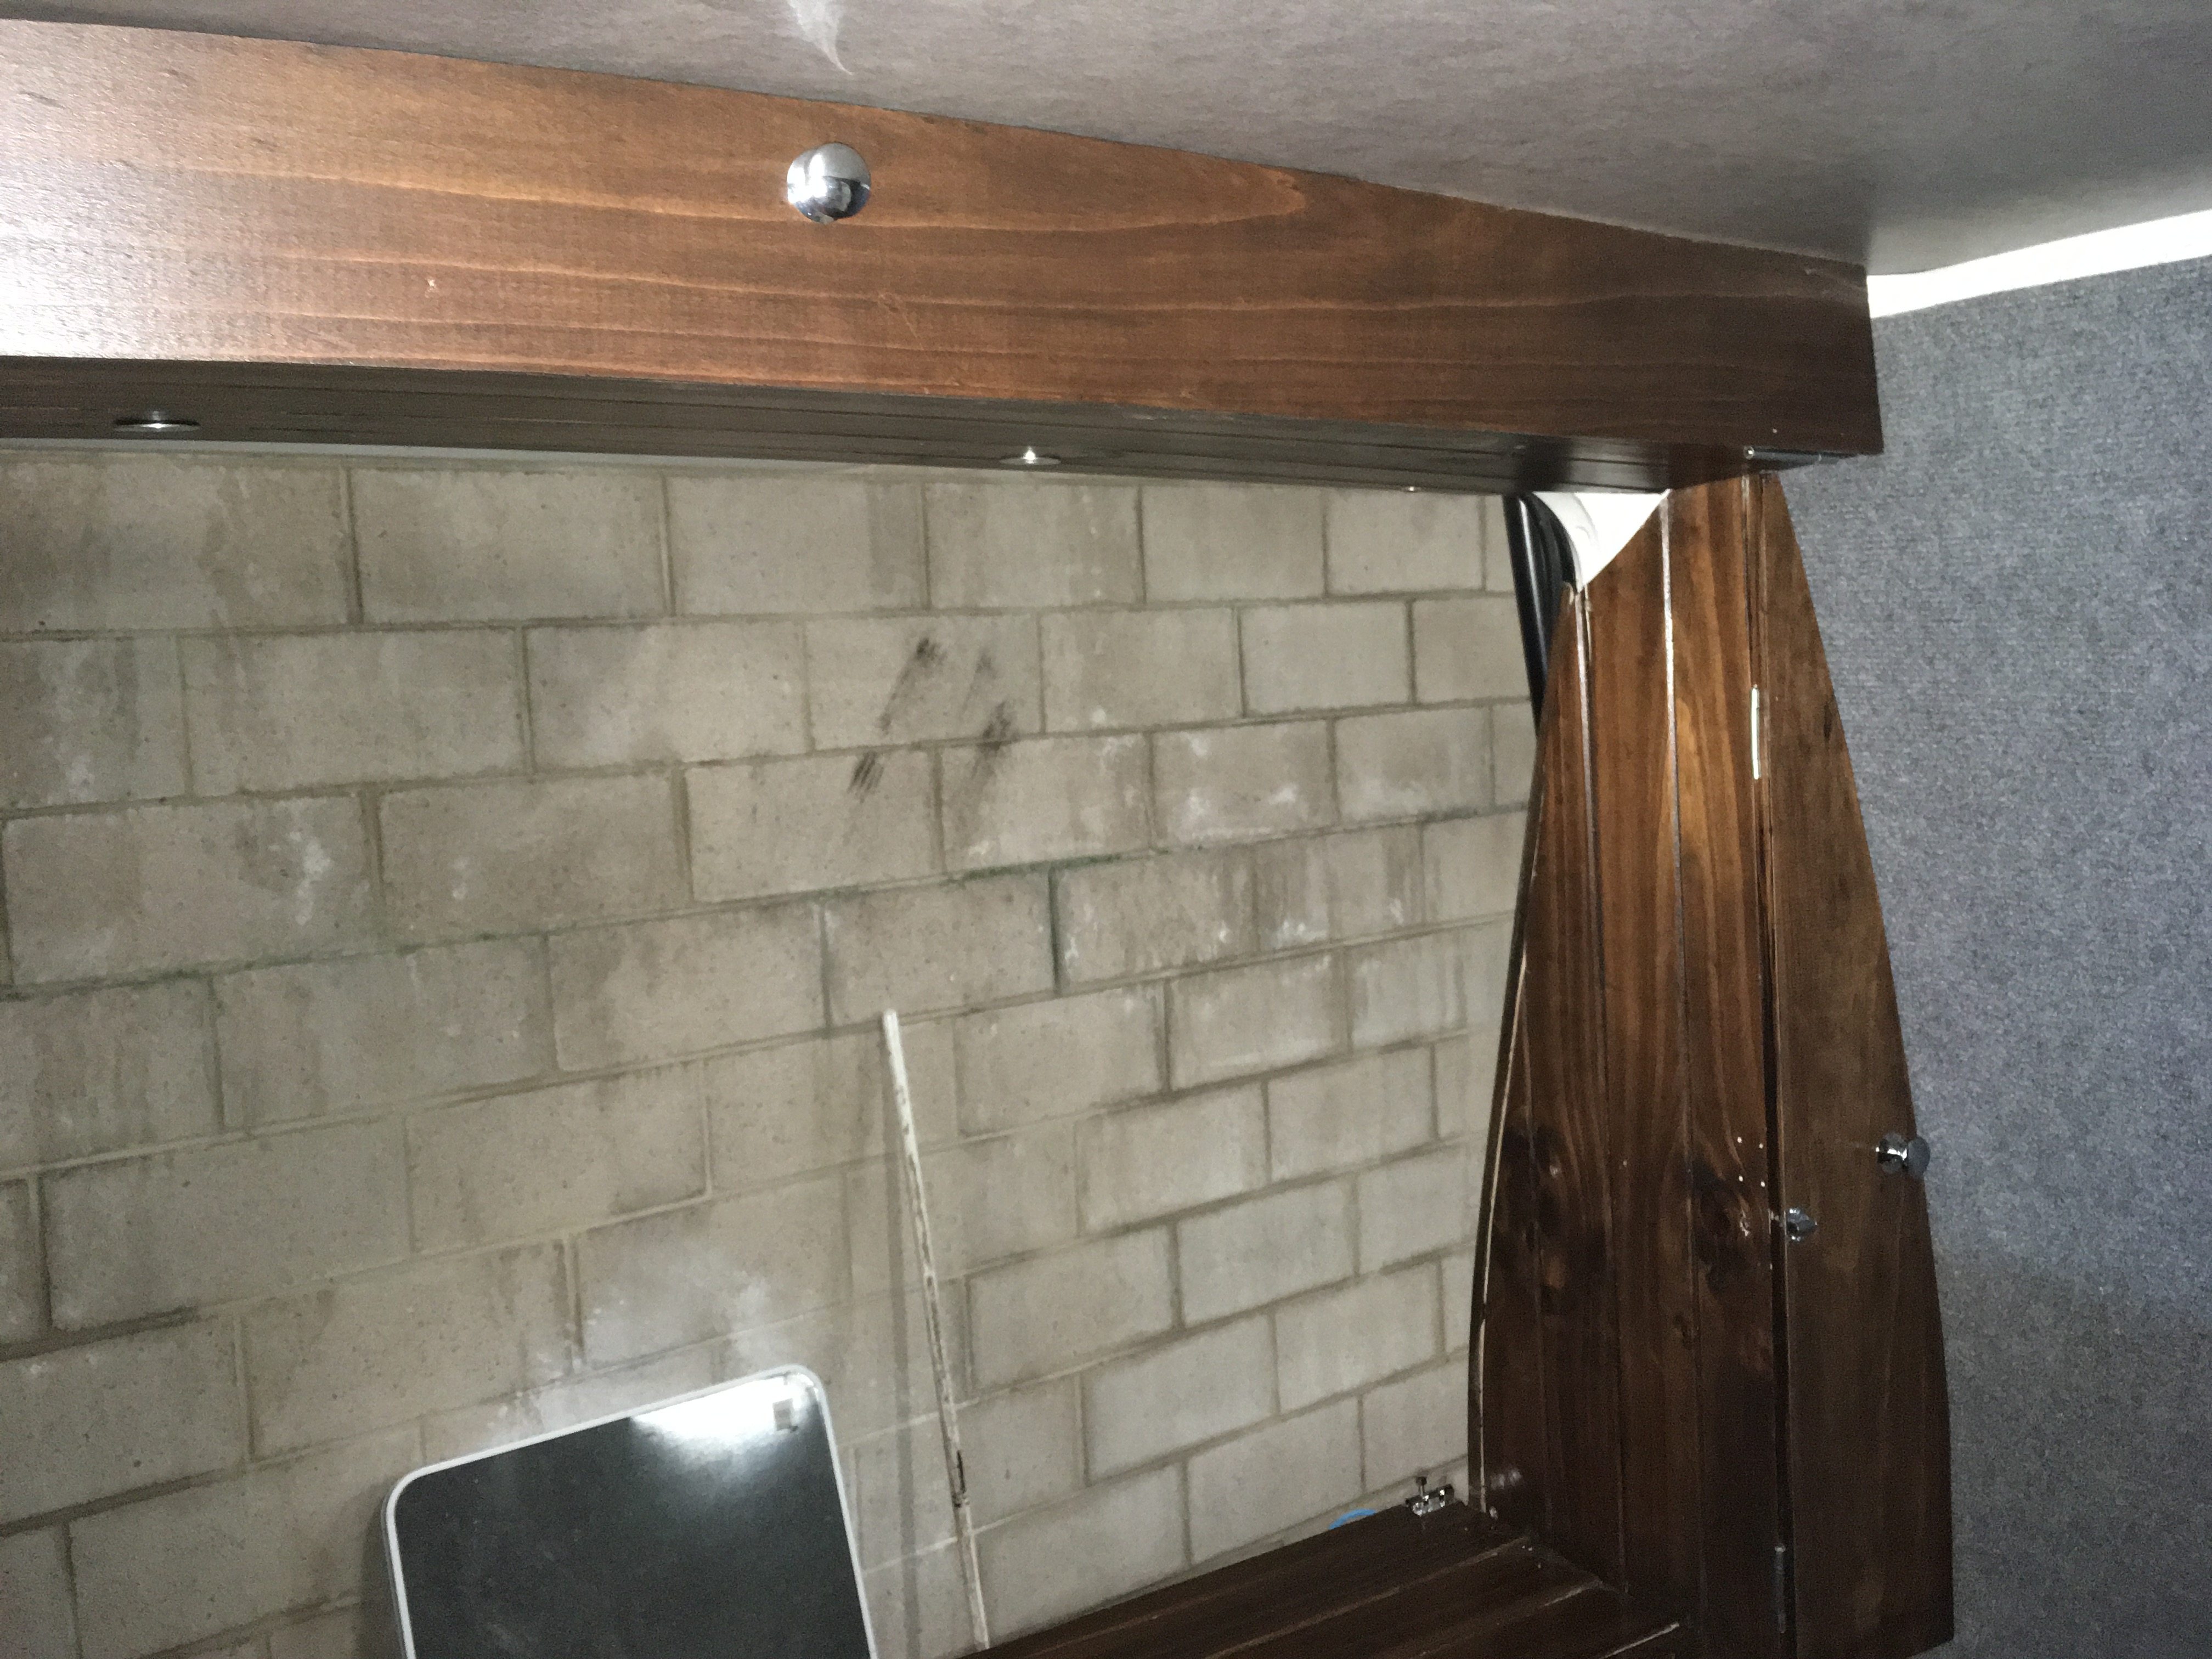
Roof / Door Panels
These are mostly an aesthetic item, though the roof panels are also insulated with thermalbrane.
We removed the existing van panels and cut duplicates out of 3mm mdf, replacing the push-tacs with new ones.
The door panels are covered in hard wearing outdoor furniture material, the roof panels are lino.
We also replaced the original grey roof slats with the stained pine.

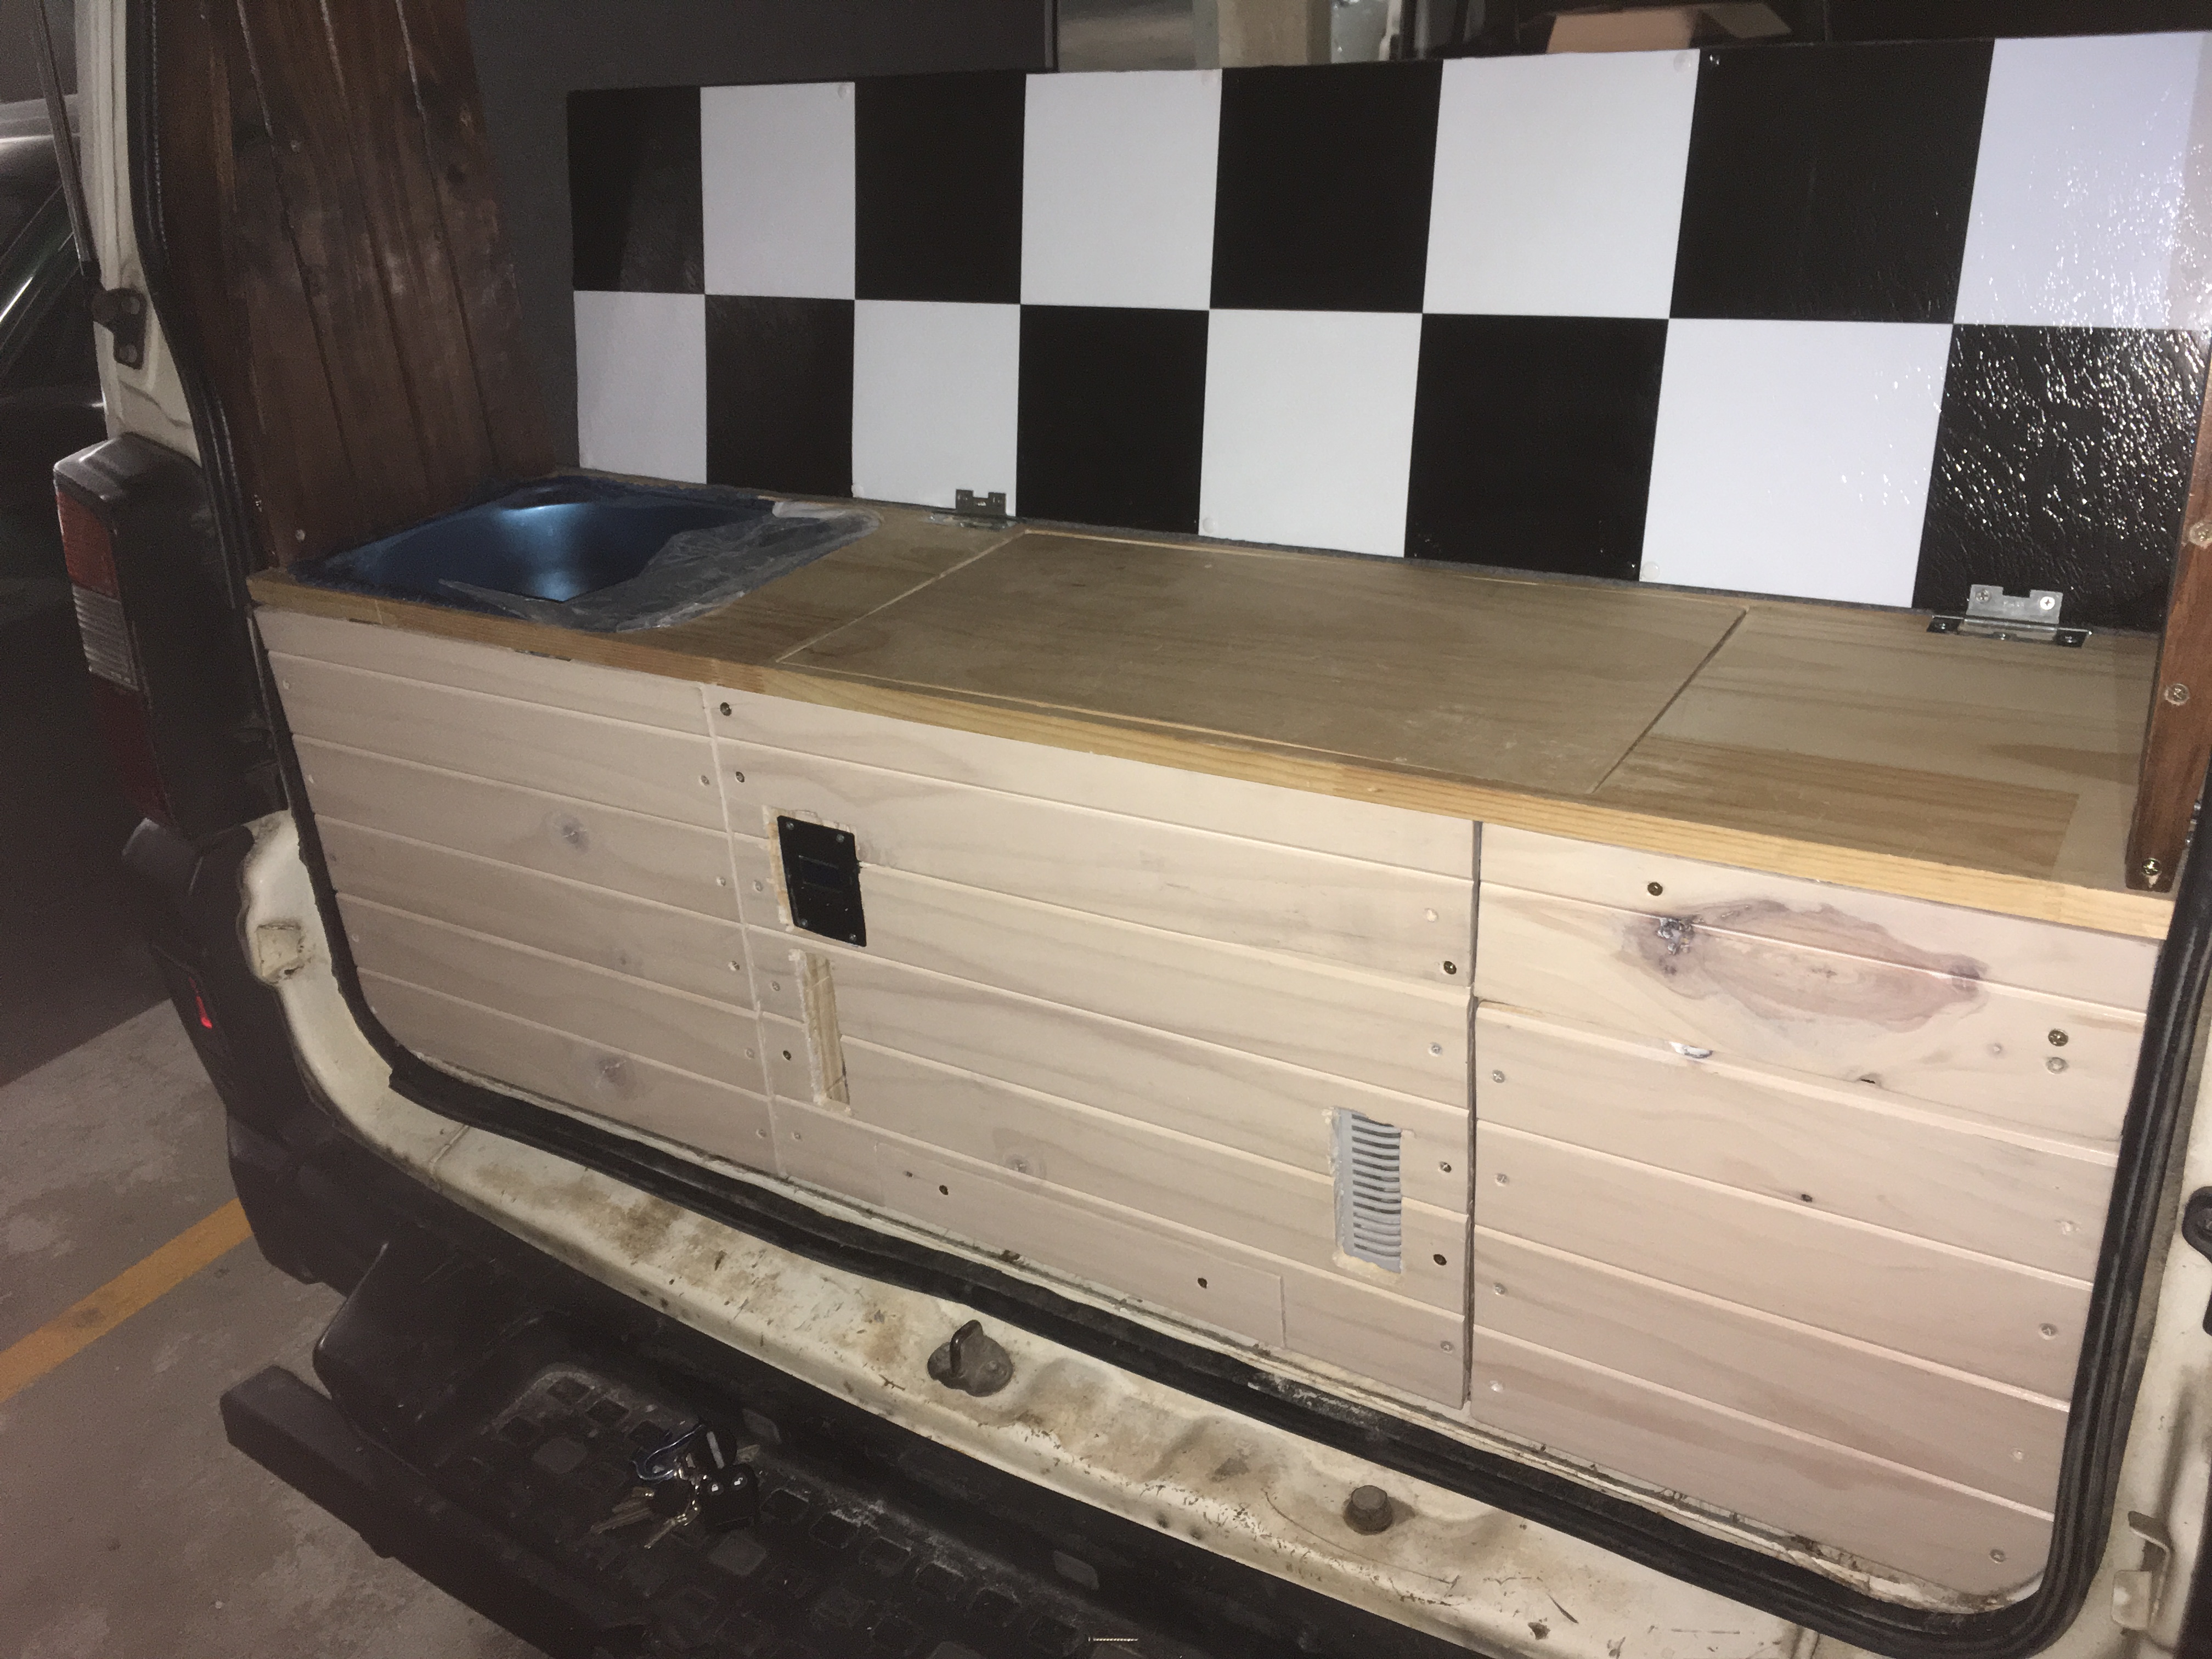
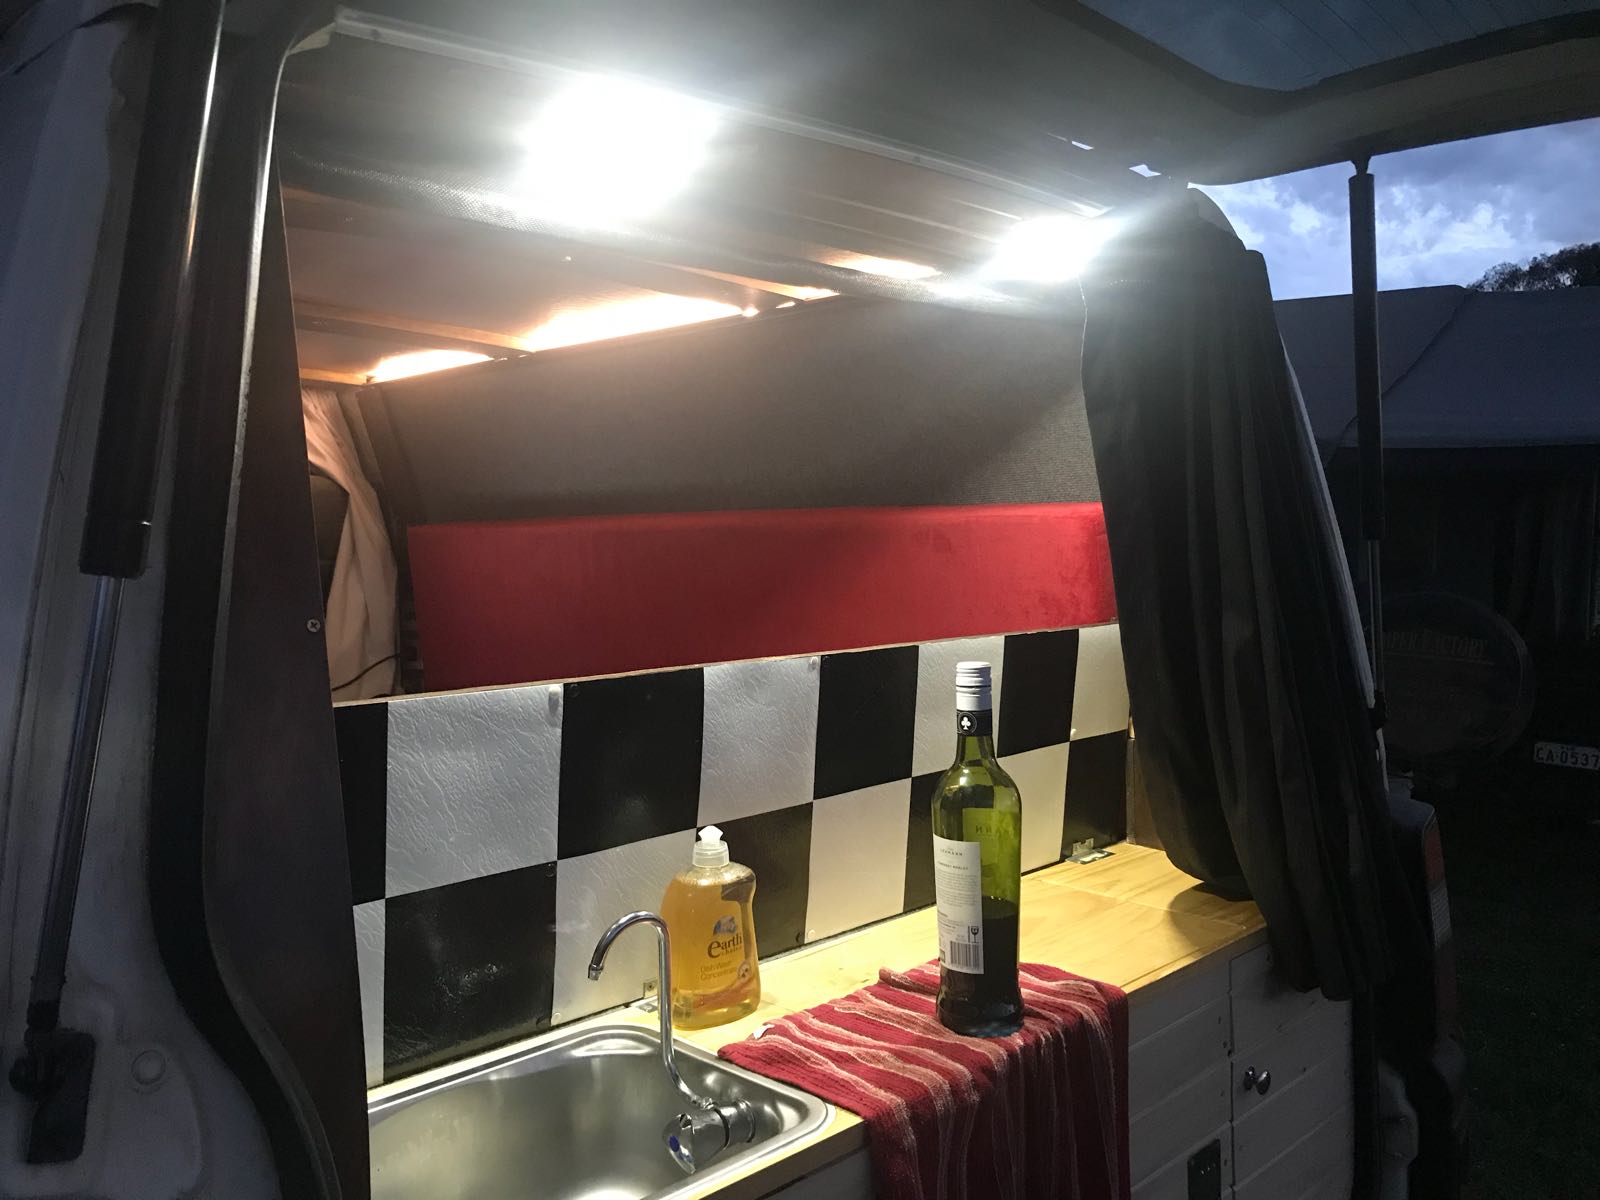
Kitchen
The kitchen was the most fiddly / technically challenging part of the conversion.
We wanted the worktop to be about as high as a standard kitchen counter top. As the van is lifted this didn’t give us a lot to work with, but it did tie in with being the same height as the engine box.
We also wanted to be able to have a “lid” on top of the kitchen, so when not using it you can lounge about the van as if it isn’t there.
Due to the above constraints we were limited in the fixtures available to us:
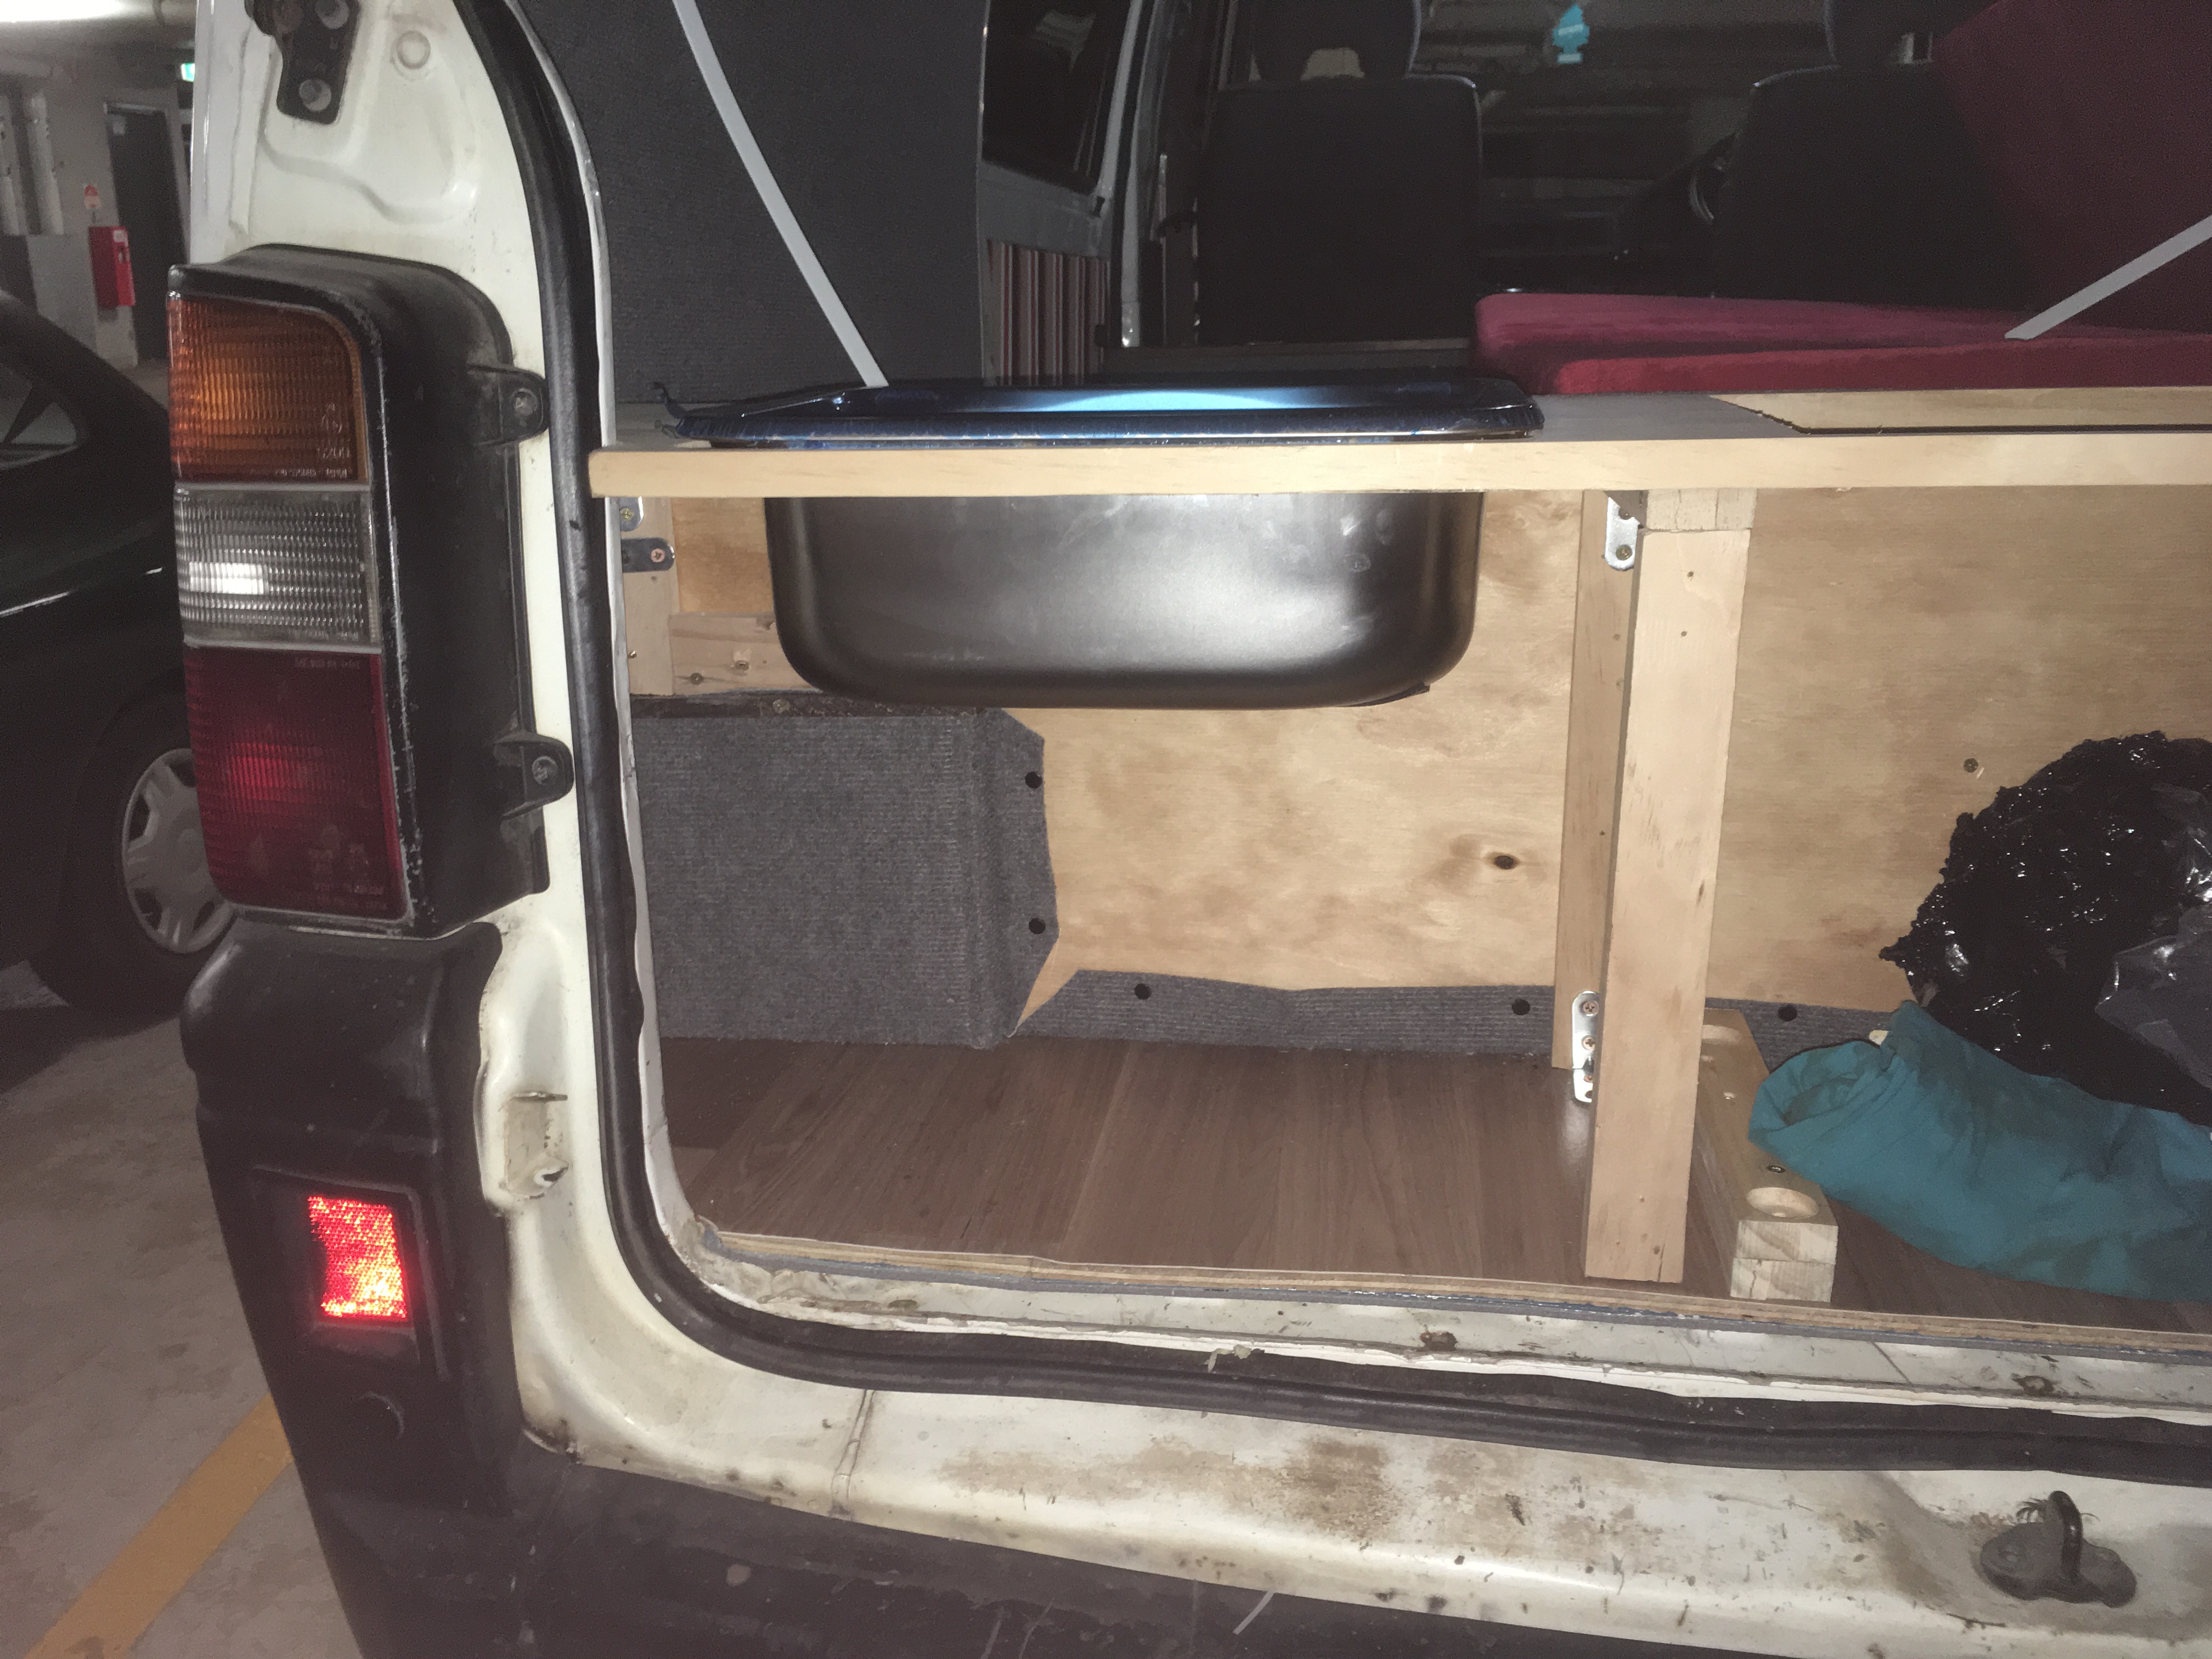
- Fridge: The fridge is 20 litres and cools to about 20 degrees below the ambient temperature. The fridge is hidden in the worktop via a push-catch and is controlled by a digital control panel on the front of the kitchen.
- Sink: The sink is about 15 litres, plenty big enough to do washing up. The faucet swings up and down to fit under the closed kitchen lid.
- Water: The water tank is 30L, installed where the spare wheel usually lives (spare is now on the roof). A self-priming pump drives the water flow to the sink.
- Grey water: We sacrificed a waste water tank for more drinking water storage. The waste water drain is behind the rear left wheel, we just use a bucket. On reflection we’re glad we did this than have less drinking water capacity. We fill the tank every 3 days as it is.
- Cupboards / Drawers: There are two cupboards and two drawers in the kitchen. We found the storage to be sufficient (we have no other kitchen storage on the roof or otherwise).
- Stove: We sacrificed an inbuilt stove, for kitchen storage. Additionally we didn’t want to be cooking right in the back of the van anyway (cooking smells mean stinky van). We just use a portable butane stove (small cans).


Cupboards
To make the van feel less “van” like inside - e.g. cover up the bare white metal and square things off, we built three internal cupboards, two on either side of the kitchen and one above.
We installed cornicing which we use to hide the light strips and cut a couple of pieces of cladding to cover remaining van metal.
Lighting
There are four different lights in the living area:
- Original main cargo light with a super bright LED instead of the original bulb, wired to the house battery. Can be switched to come on via opening the door or flicking the light switch. We only really use this when we’re cleaning.
- Two “Warm” LED light strips (one on each side, separately switched). These give a lovely background light for relaxing in the evening. Use these all the time.
- Two “White” LED spot lights above the worktop (switched together). We use these only when cooking.

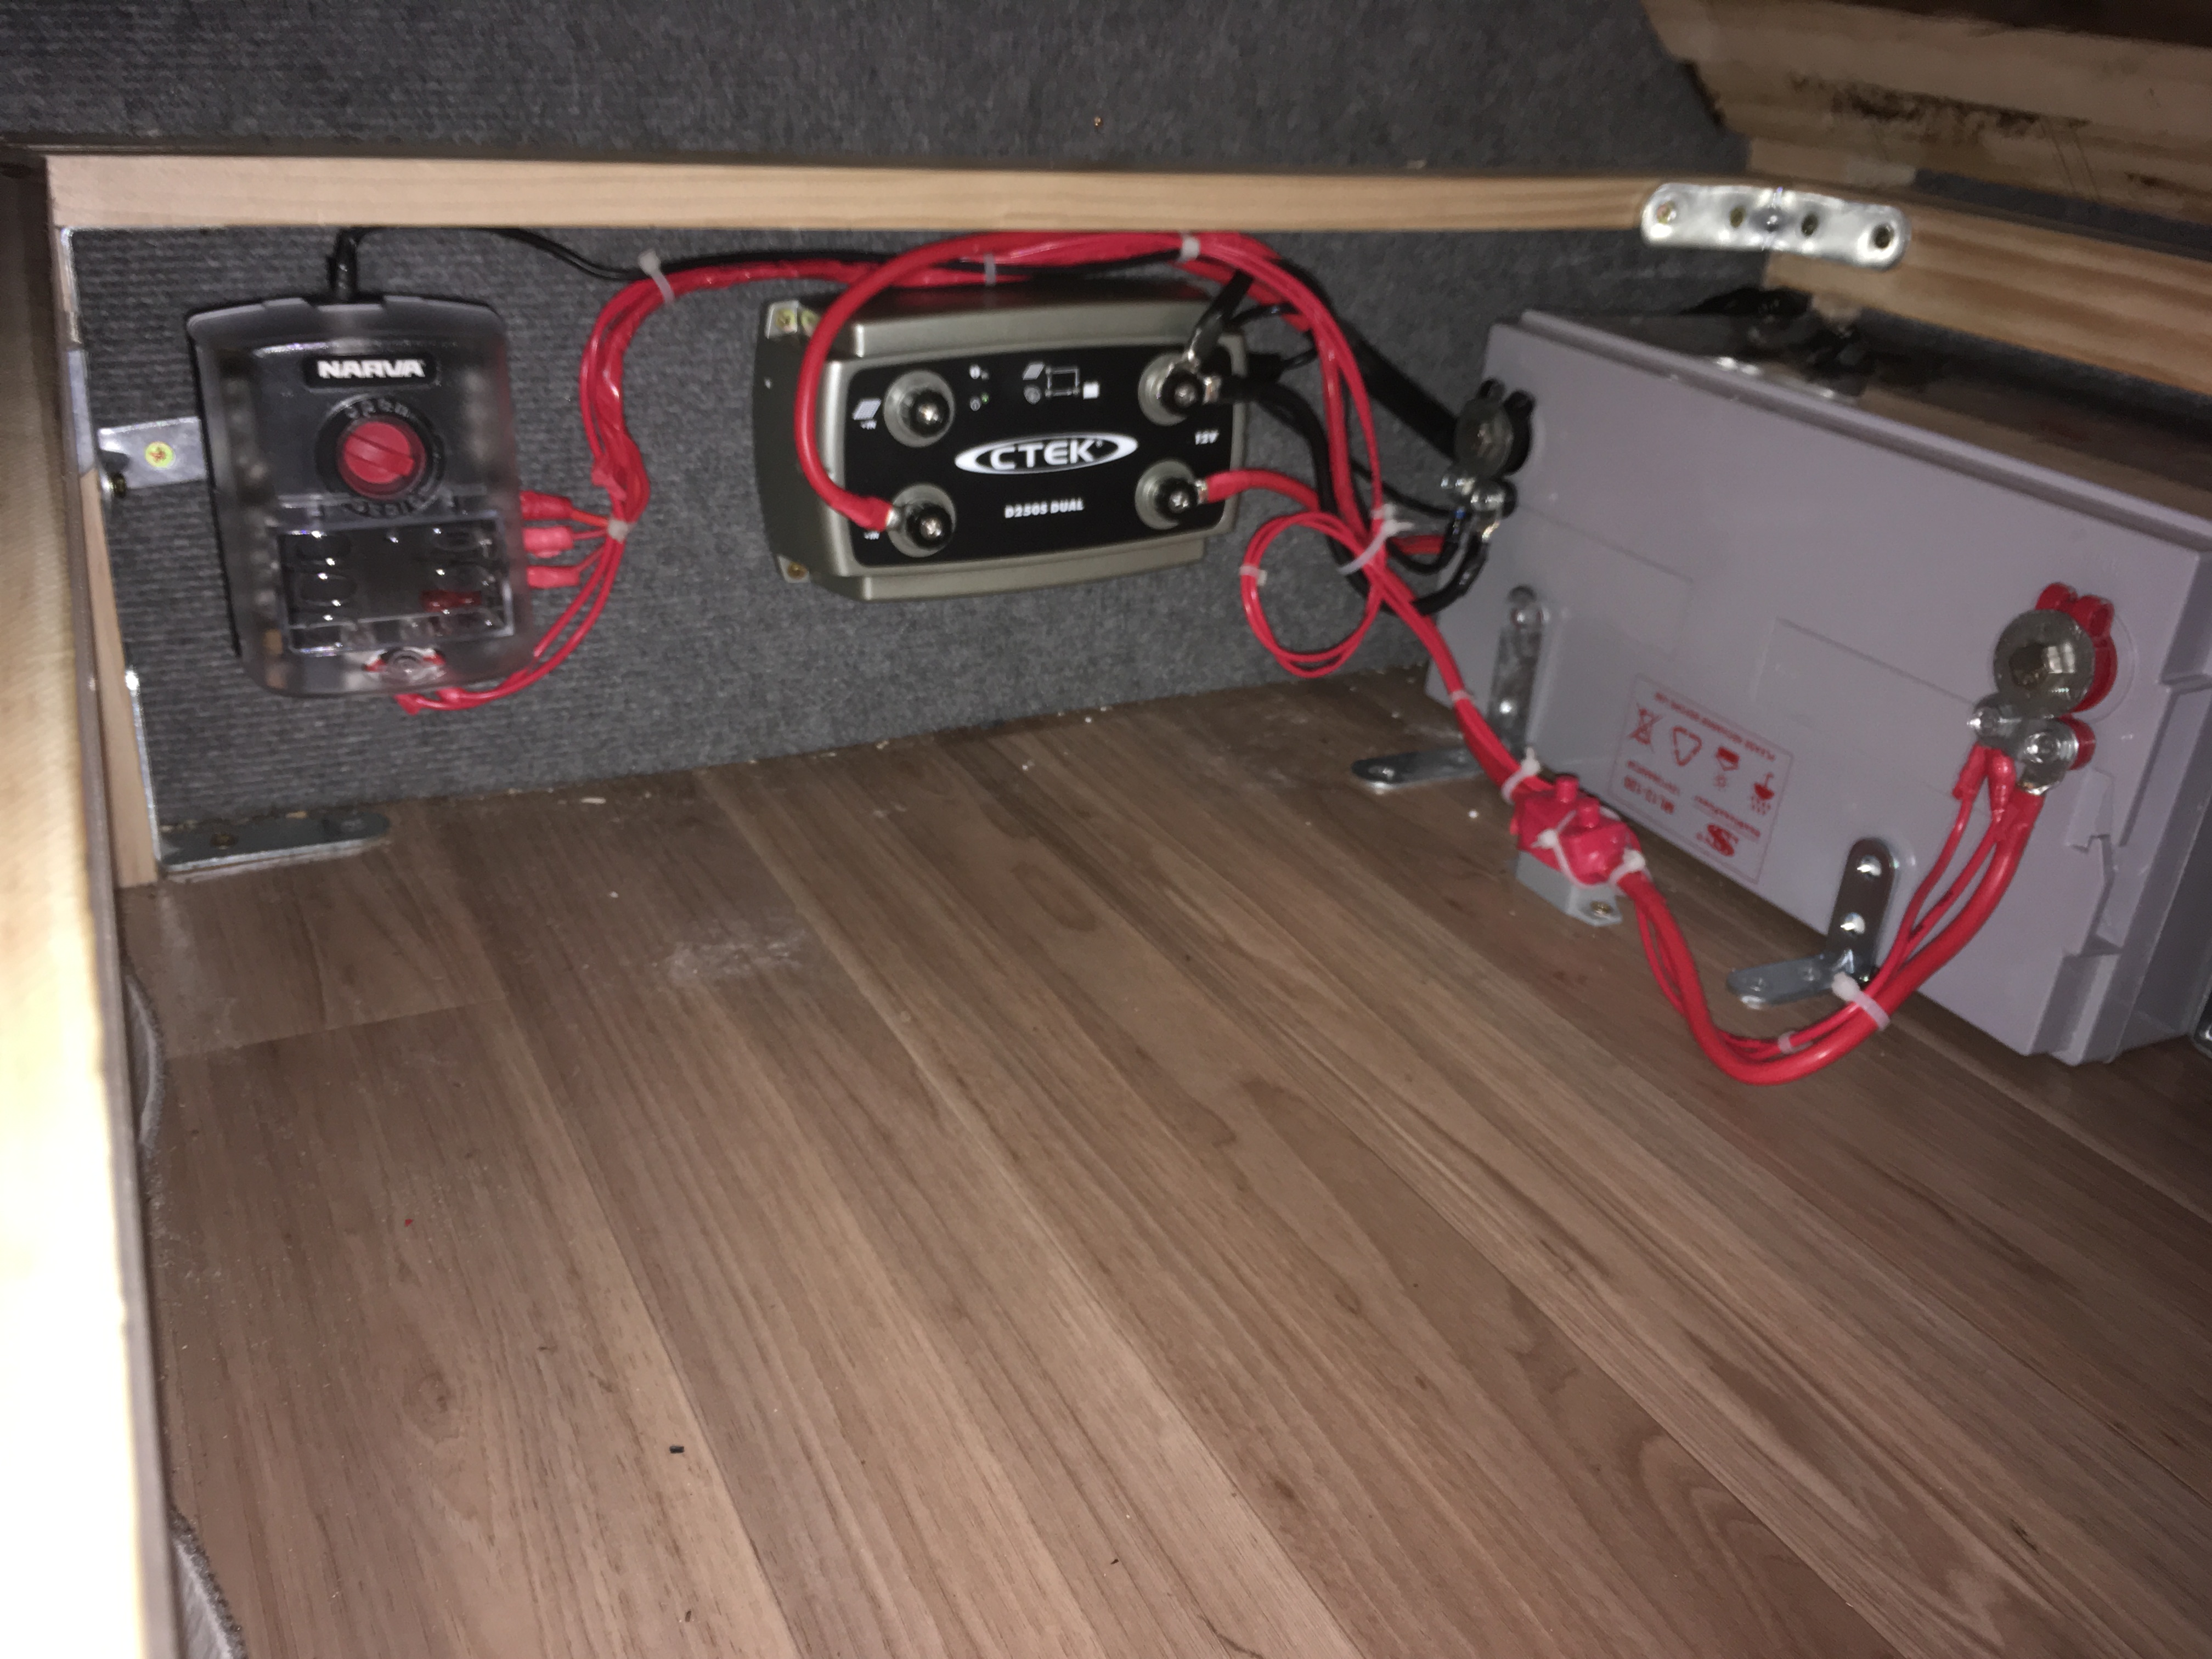
House Electrics
As leccy is required for lots of various jobs along the way (kitchen / lighting), this went in over time.
The setup has been working well for us with a couple hours driving a day to charge the house battery.
- 120 amp/hour AGM house battery
- Ctek Dual DC-DC charger. These things are legit.
- 100w solar panel permanently mounted on the roof
- 2400w (max) / 1200w stable sine wave AC inverter, with 2x 240v power outlets
- 2 * 2.5 amp USB outlets
- Bluetooth battery monitor. Provides real time house battery voltage + low voltage alarm
Roof Storage
The van came with a beast of a steel roof rack. We extended it to build a cage which can house various waterproof items:
- 2x Tables
- 2x Chairs
- 2x Stoves
- Parasol
- 10 litre backup water
- Waste water bucket
Additionally we use 2 galvanised steel toolboxes (about 64L each) to store stuff we don’t use every day but don’t want to get wet (bags, shoes, tools, etc).
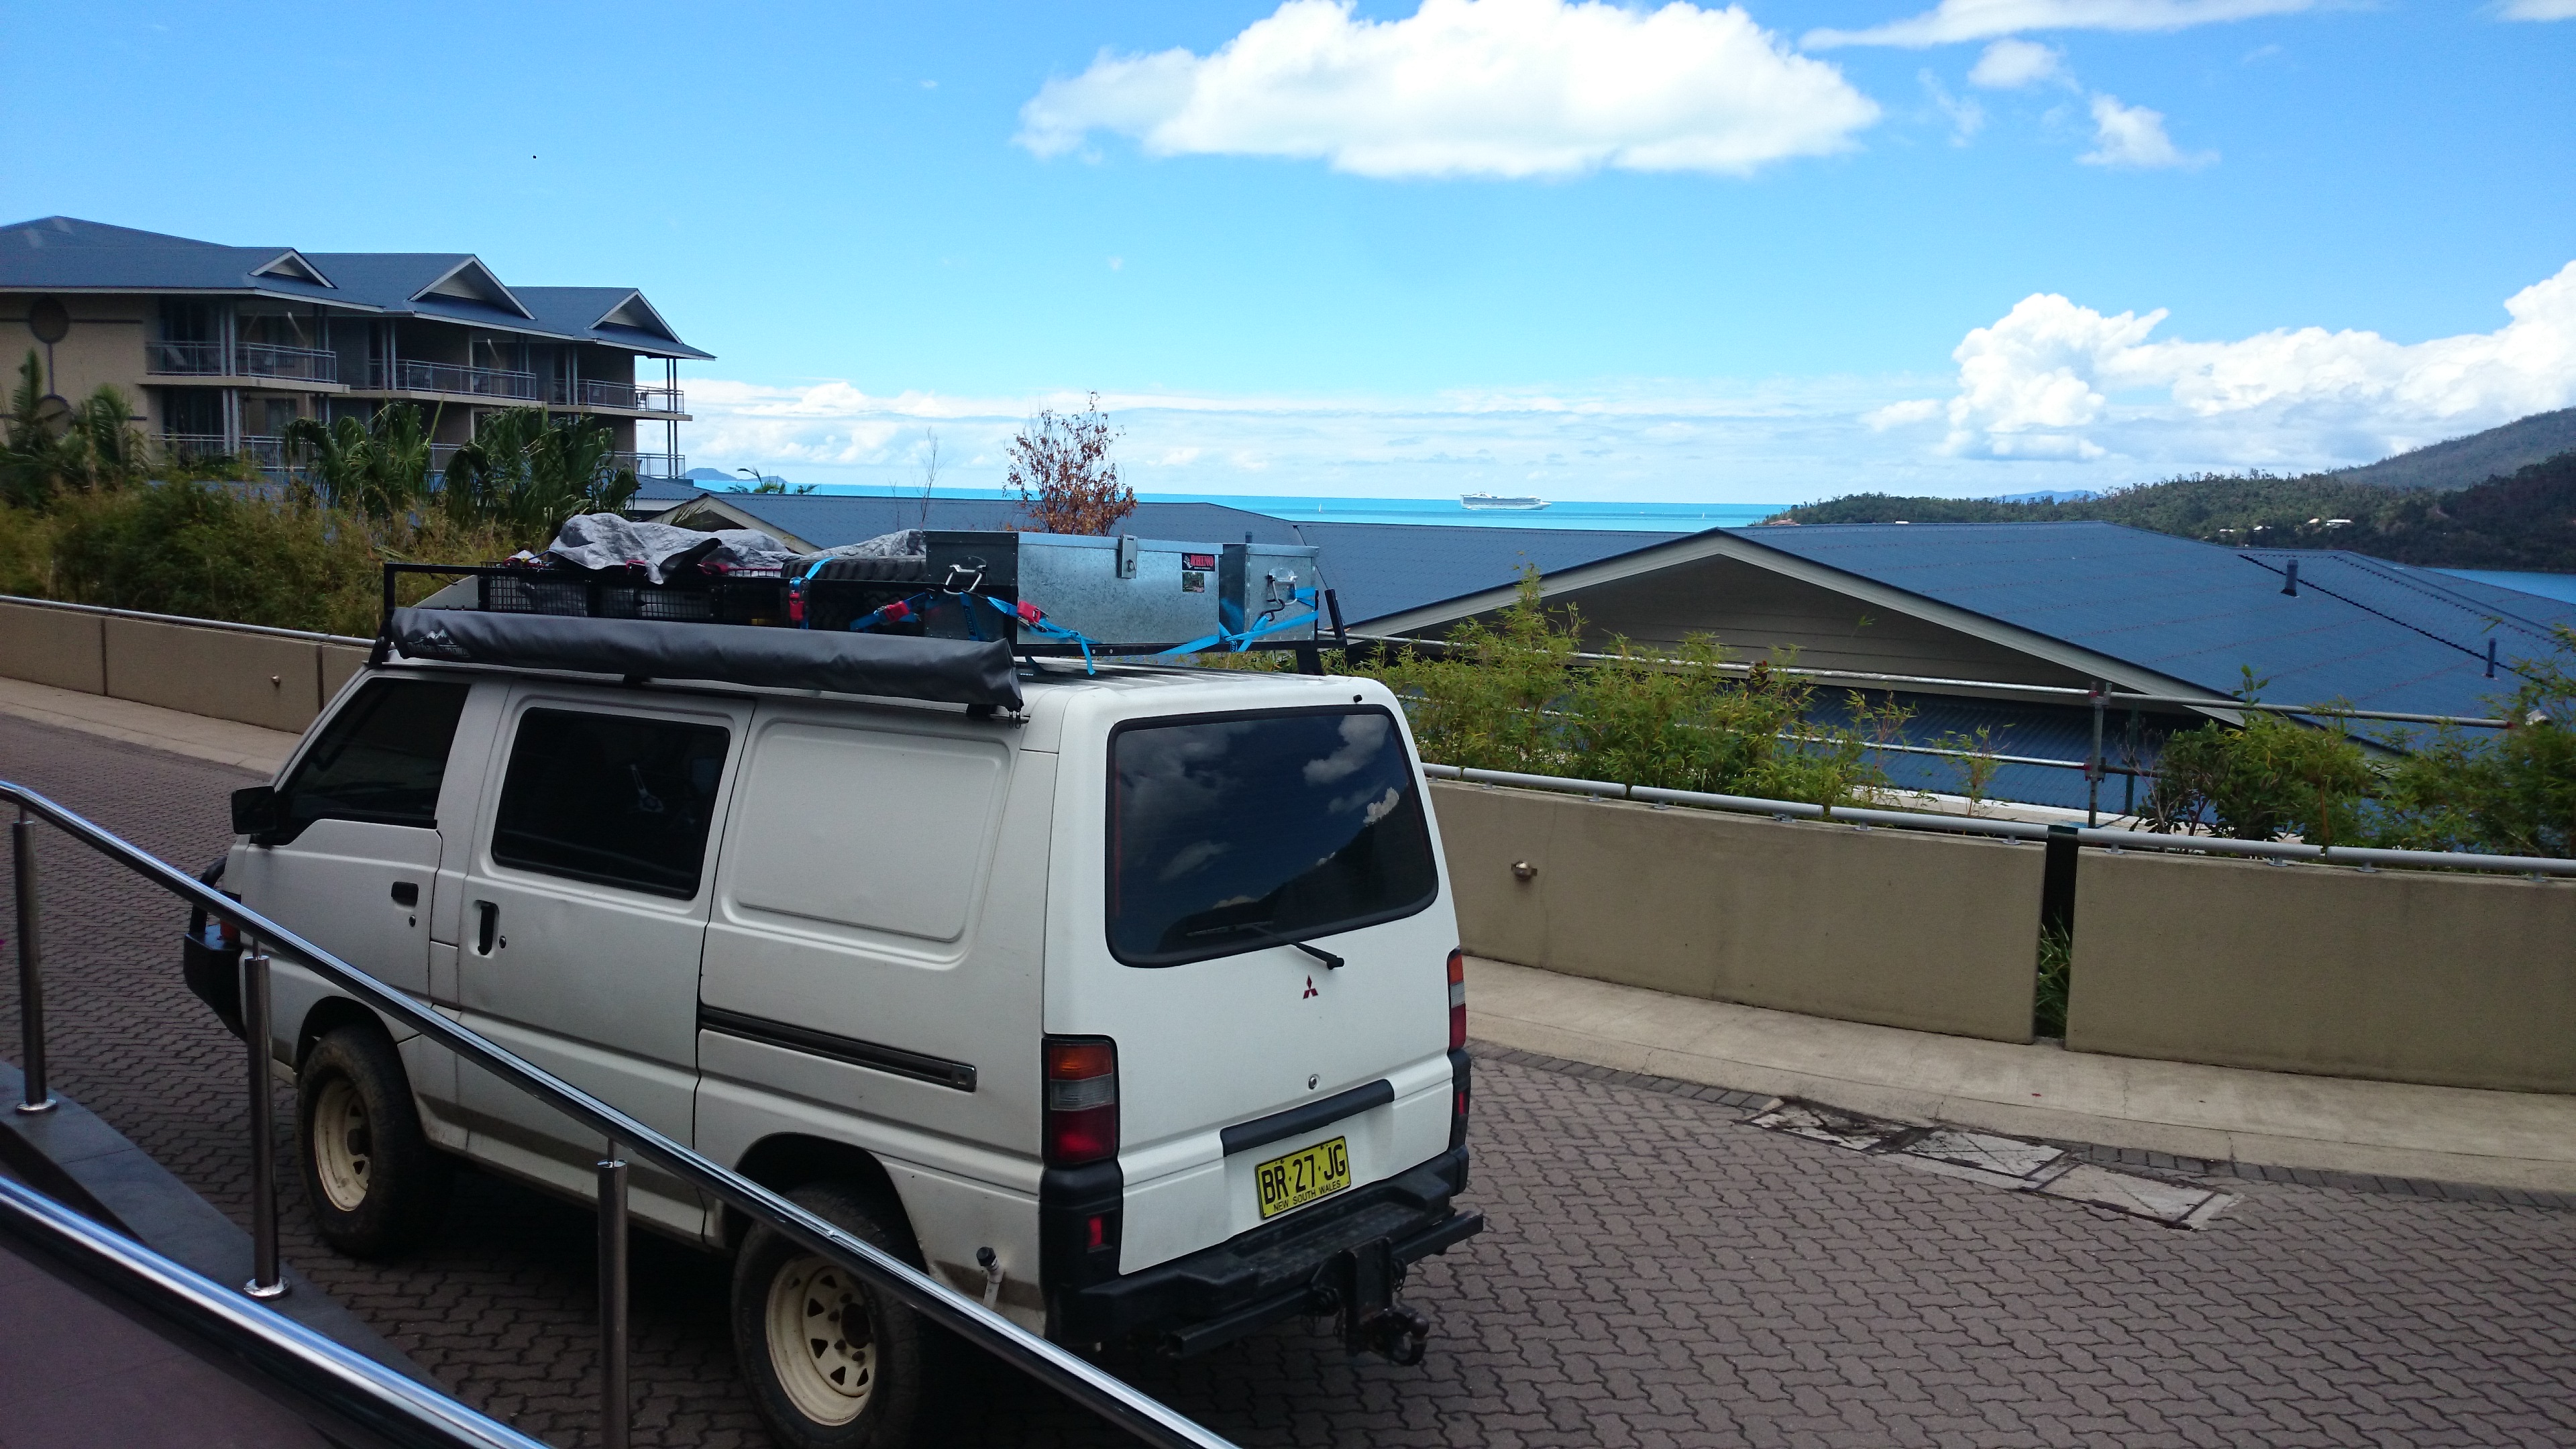
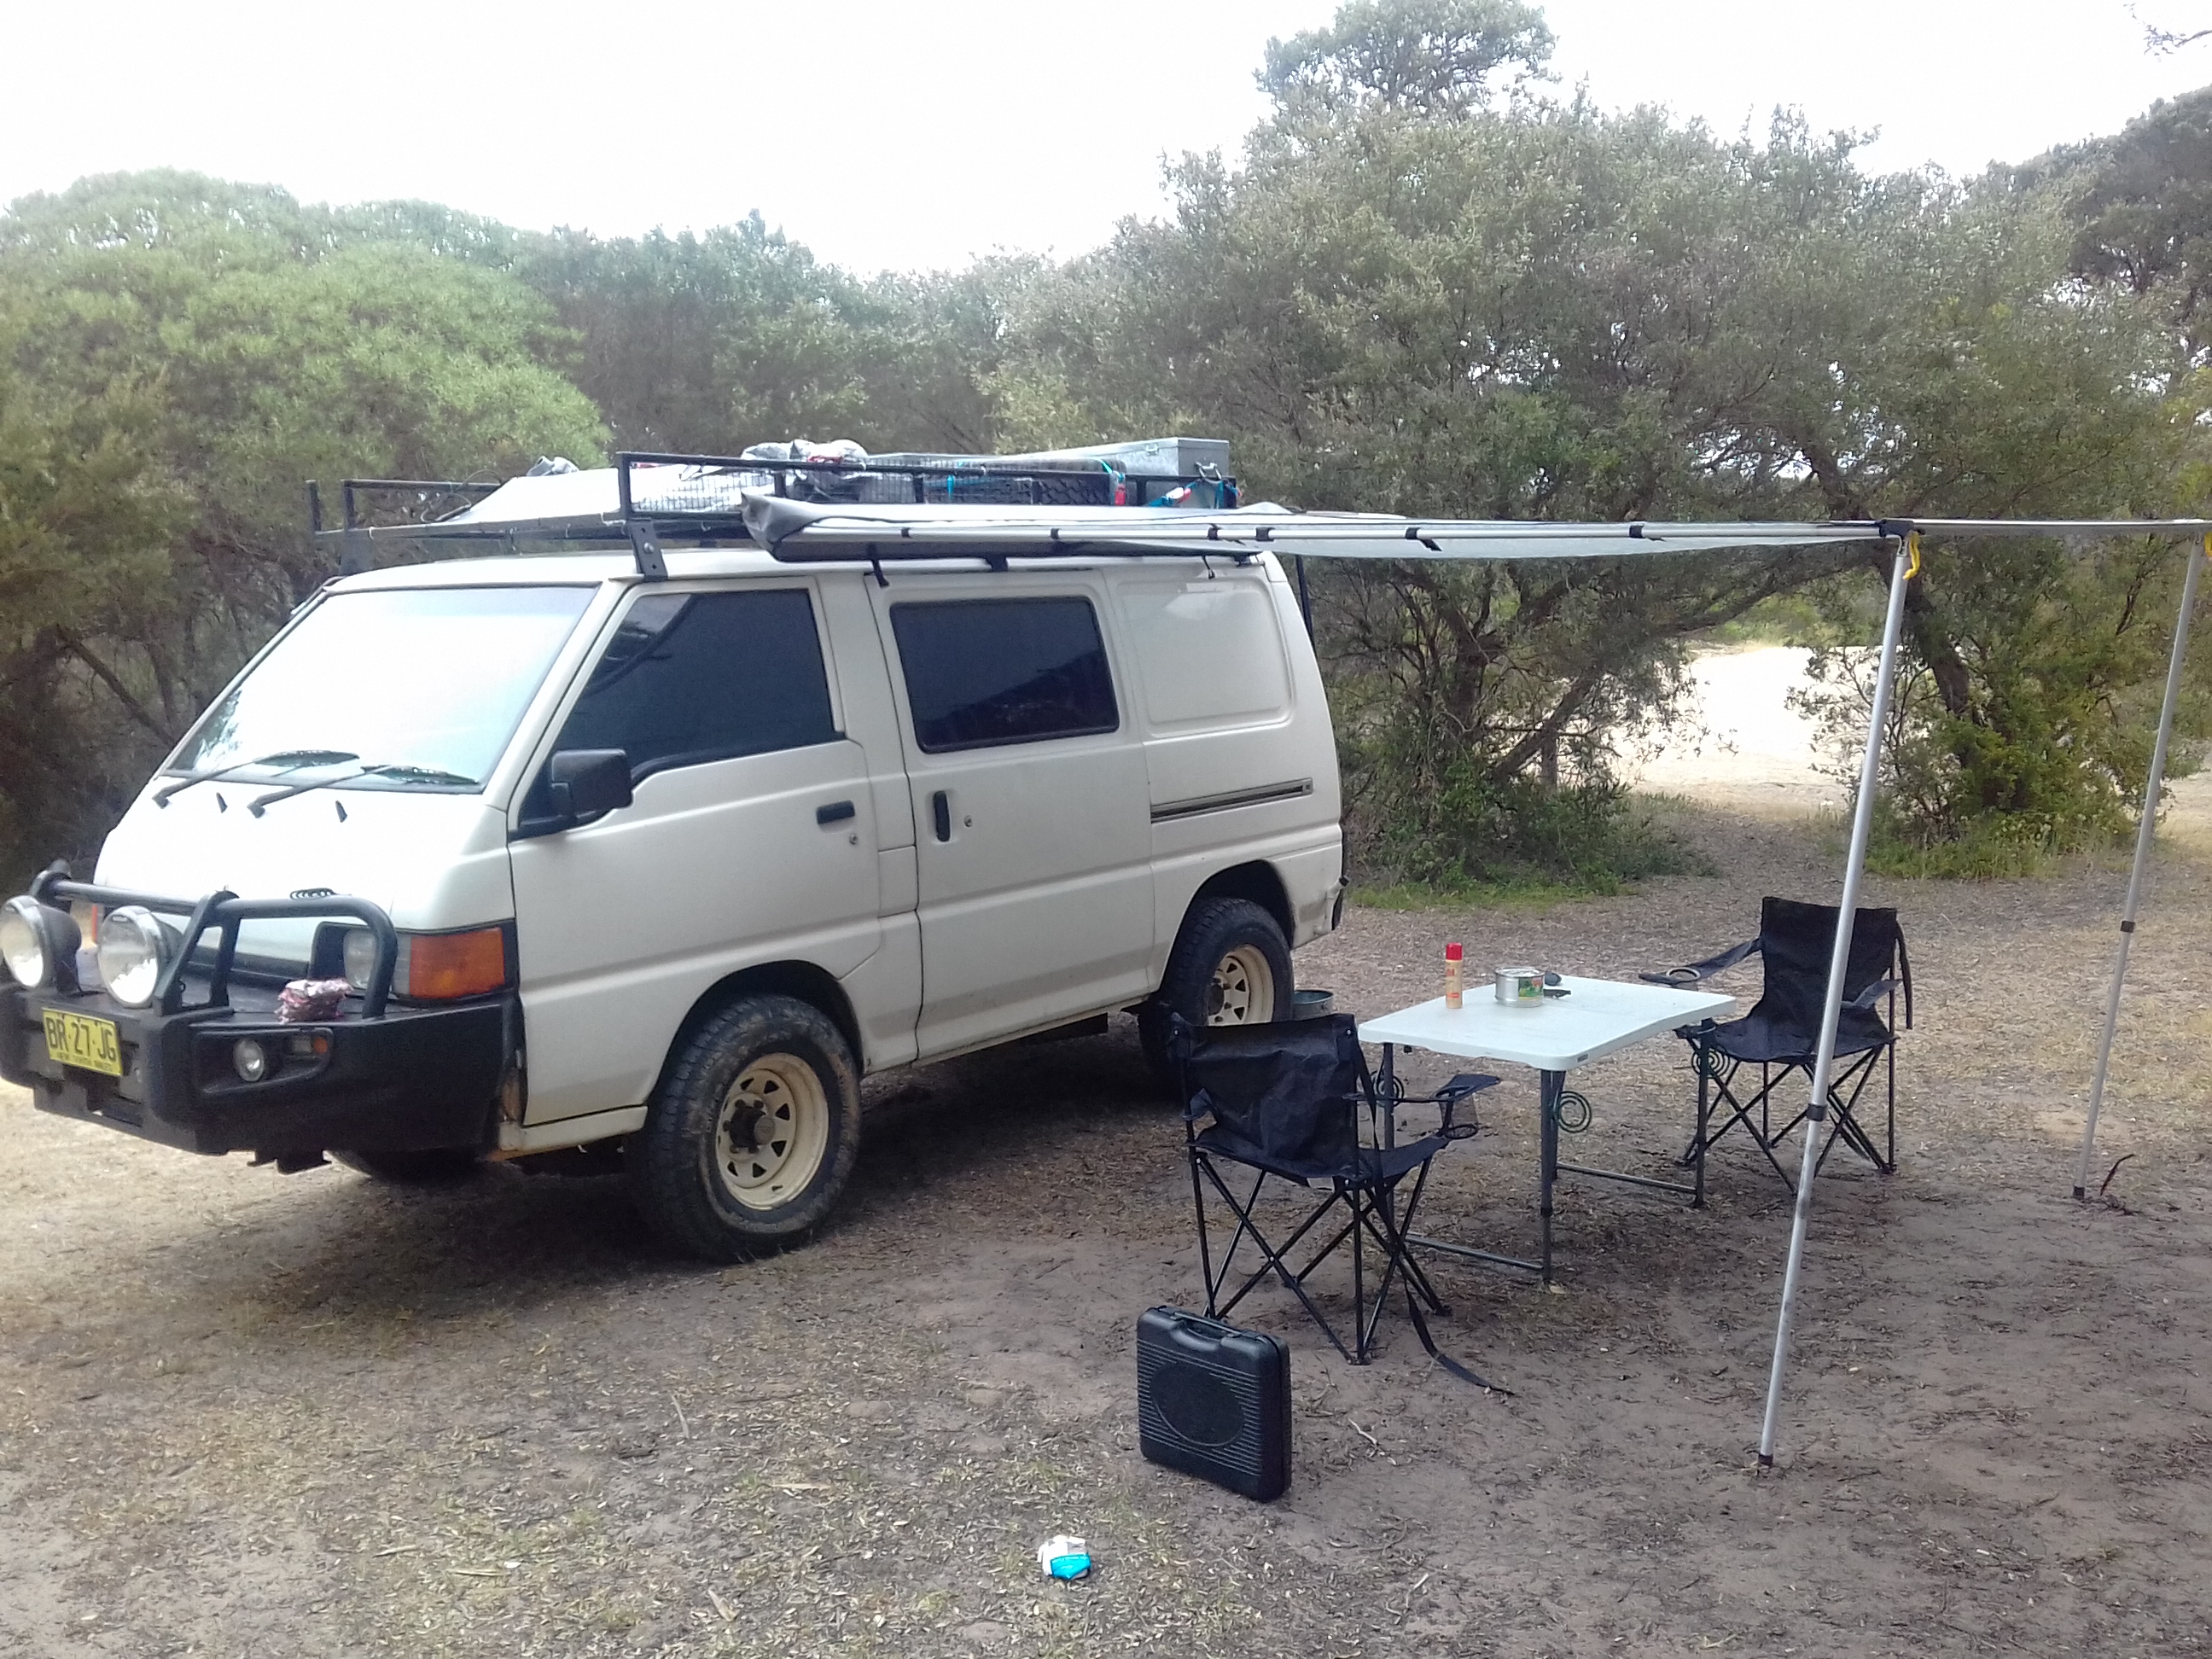
We also fitted a 2.5 x 3m awning which is great for those sunny (or rainy) days.
Curtains
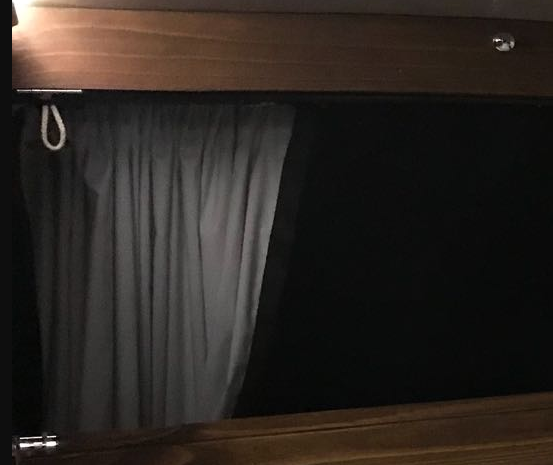
I found a guy on ebay making ultra low profile curtain rails to measure out of steel / nylon. These are excellent. We got some block-out curtains from Spotlight that keep the van nice and dark.
We also put a roll-up mozzie-screen between the kitchen cupboards so we can sit with the back door open without any unwanted visitors.
Misc van stuff

We’ve made the following improvements to the “van” / driving area, in addition to the camper conversion.
- Retro steering wheel / gear knob
- Tacho (so weird driving stick without a tacho!)
- Dash carpet
- Marine voltage meter / USB / 12V socket
- Added extra engine insulation (earthwool)